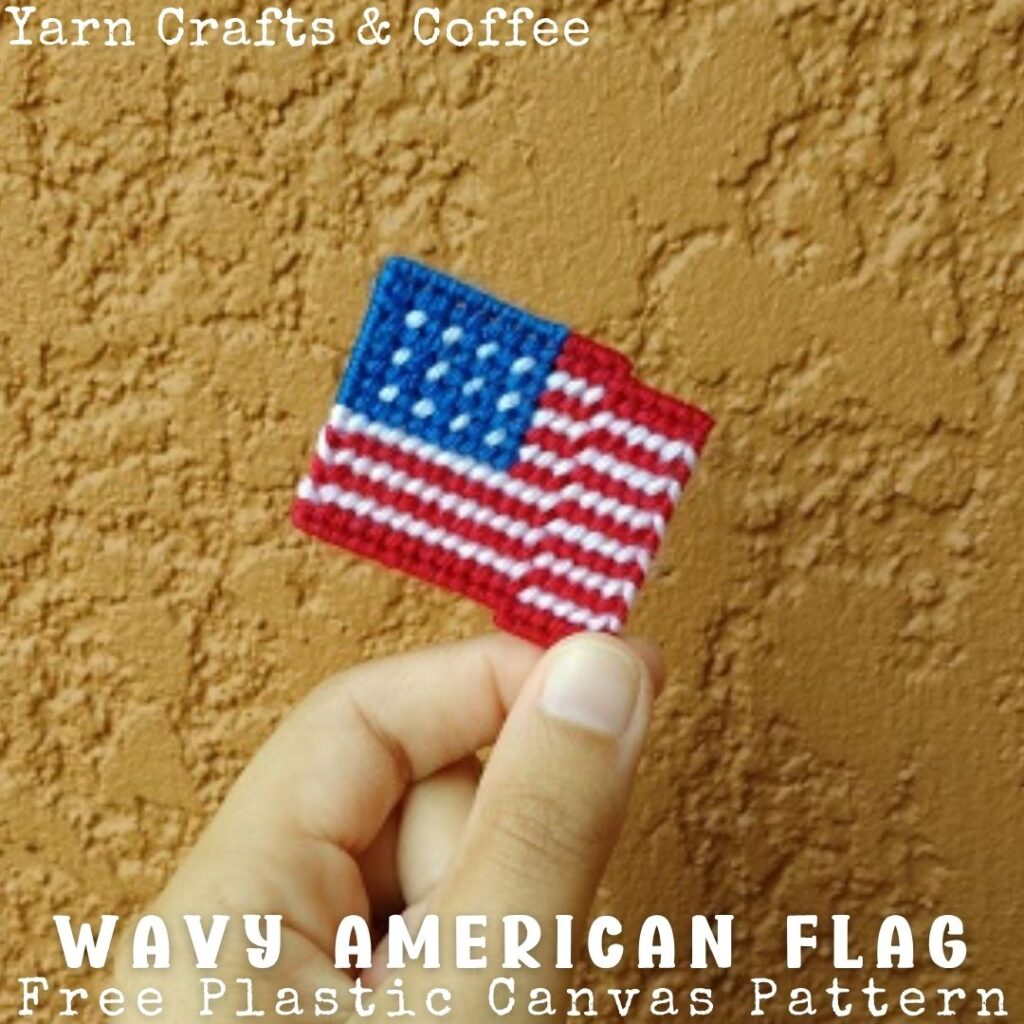
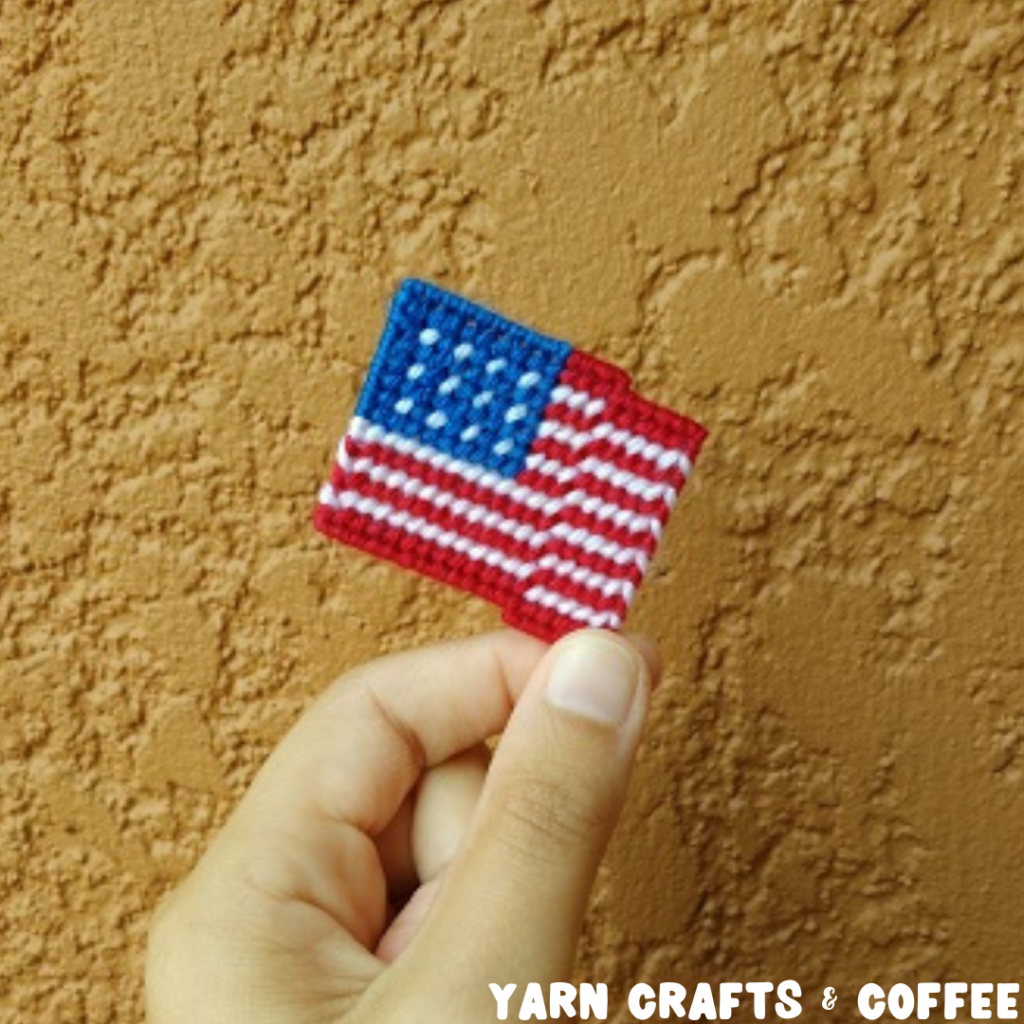
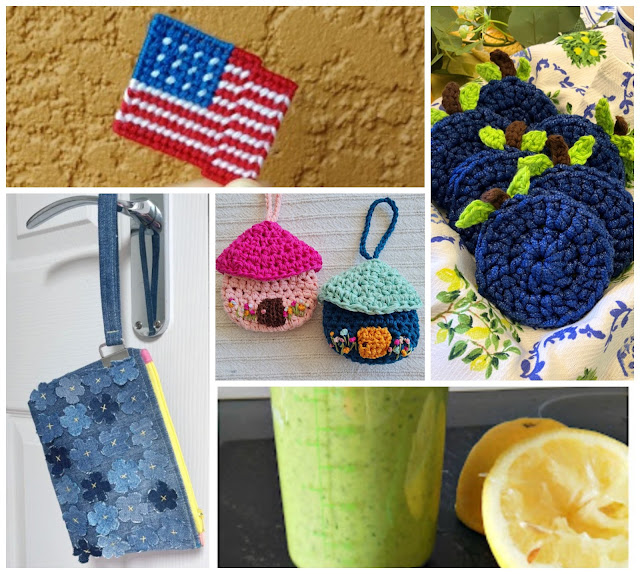
Learn how to cut and stitch a small plastic canvas flag that looks like it’s waving in the wind. This wavy flag would make a great magnet, statement necklace pendant, brooch or embellishment.
This post contains affiliate links. If you make a purchase by clicking on them, I make a small commission at no extra cost to you. I only recommend products I love and hope you’ll love them too! Click here to find out about the different affiliate programs I am apart of. This post also contains shop links to my yarn shop and craft store, Yarn Crafts & Coffee. You can shop online or in person in Melbourne, Florida.
Find the free plastic canvas pattern instructions below, subscribe to my blog and download the PDF for free via the Free File Library or purchase a printer-friendly, ad-free PDF on Etsy by clicking here.
In a hurry? Pin this for later.
This plastic canvas pattern originally made it’s appearance on my EyeLoveKnots blog back in June of 2016 back when my blog was hosted on Blogspot!
At the time, I was thinking about working up an American flag that I could use to create a pair of earrings, and so I set out working on this piece. After completing it, it was a too large for earrings that I could comfortably wear as I don’t like them to hit my shoulders, though would still make a cute pair if you like that style.
There are tons of other fun ideas for a small plastic canvas American flag (and you can let me know if you’d like to see tutorials for any of these ideas):
Attach a magnet to the back to decorate on your fridge
Attach to a jump ring to create a statement necklace pendant
Sew on a pin to the back to make a brooch or pin
Glue it onto a hair clip
Make several and string together to create a garland to hang along a mantel, entryway table or on a holiday tree
Attach a ribbon and use it as an ornament on a holiday tree or in honor of a service member on a Christmas tree
Glue onto the front of a card or onto cardstock and frame to celebrate any number of patriotic holidays, such as Memorial Day, Veterans Day and 4th of July, to name a few
Use it as an embellishment in scrapbooking
Try the same stitch pattern on 5 or 7 mesh to get a different size
Ad-Free Printer Friendly PDF:

Yarn Crafts & Coffee newsletter subscribers get access to Exclusive Subscriber Content, like the free PDF of this pattern via the Free File Library. The library is password protected so sign up for my newsletter and you’ll receive a Welcome email containing this month’s password, or if you are already a blog subscriber, reference your latest newsletter for this month’s password. From the library, you’ll be able to access the PDFs via Google Drive – you do not need to have a Google Drive account to view and download the PDF.
For non-subscribers, if you would like a PDF version of this pattern, you may get one through my Yarn Crafts & Coffee Etsy Shop for a small fee. This fee is to compensate for the views lost when you no longer need to return to the blog to for the information, as you will have your own copy. Plus! It helps fund supplies for new projects to share with you!

Save This to Your Favorites On: AllFreeHolidayCrafts, FaveCrafts.
Materials:
- Small Amounts of a Sport Weight #2 Yarn or Lightweight #3 Yarn – I used Premier Yarns Basix DK in the Royal Blue, Cherry Red and White colors
- Small Piece of 10 Mesh Clear Plastic Canvas that is 15 holes by 18 holes
- Tapestry Needle
- Scissors
- Optional, but highly recommended: Jewelry Pliers
- Optional: Felt or Fabric for back, though I did not line mine
Material Notes:

Premier Yarns Basix DK is a soft, yet sturdy lightweight acrylic yarn that is perfect for practically any yarn project you could dream of! It’s also machine washable and dryable making projects easy to care for. As of May 8th, 2026, it is available in an amazing number of colors – 62 colors – as well as in Worsted Weight, Chunky Weight and Super Bulky Weight.
10 count or 10 mesh plastic canvas is soft and has smaller holes with 10 holes equaling 1″ wide and tall. It’s excellent for a variety of projects, but especially useful in smaller projects or projects where you want more detail, since there are more holes per inch versus a larger size, like 7 mesh. When working with 10 mesh, you’ll want to use either a sport weight #2 yarn or a lightweight #3 yarn with a size #20 or #22 tapestry needle.
Can I use 5 mesh or 7 mesh plastic canvas instead? If you wanted to change up the size plastic canvas, use a respective size tapestry needle and yarn. For size 7 mesh plastic canvas, I would recommend a #18 tapestry needle and a worsted weight #4 yarn, like Premier Yarns Basix Worsted or Lion Brand Pound of Love. For size 5 mesh plastic canvas, I still use the #18 tapestry needle, though a #16 would be a little easier to get the yarn through the eye of the needle, and a chunky weight #5 yarn, like Premier Yarns Basix Chunky or Lion Brand Hue and Me.
Tapestry Needles with the blunt, round end are essential for sewing and finishing in needlepointing on fabric and plastic canvas. The blunt, rounded end allows the needle to pass easily through the holes on canvas and the fabric created by the yarn without snagging (or getting your fingers) in the process. The long oval eye makes threading strands of yarn easier, though you may still want to use a needle threader.
Scissors are an essential tool. In my notions pouch, I always have a pair of lightweight, all-purpose scissors as they are so versatile and great for a variety of things from cutting plastic canvas mesh to cutting yarn strands and trimming yarn ends after weaving in to cutting out a care tag to include with a handmade gift.
Jewelry Pliers are an excellent tool to use to help weave in the ends of tough yarns, such as cotton yarns and chunkier yarns, or within tight stitches, especially when working in the Tent Stitch if you do the Half Cross Stitch variation, as these can be quite tough on the fingers when weaving in with just fingers and a tapestry needle. Sore thumbs and frustration can be a thing of the past by simply using jewelry pliers to help pull the tapestry needle through the work. Make sure the eye of the needle is facing up so you can see directly down it and carefully pull, wiggling as needed. If it gets caught and you tug too hard, it can break the eye of your needle and/or the plastic canvas mesh.
For a cleaner back, you could cut and attach some felt or fabric, or even cut an extra piece of clear or colored plastic canvas mesh. leave it unworked and whipstitch it to the top in the finishing process.
Time Spent:
About 1 hour, 15 minutes.
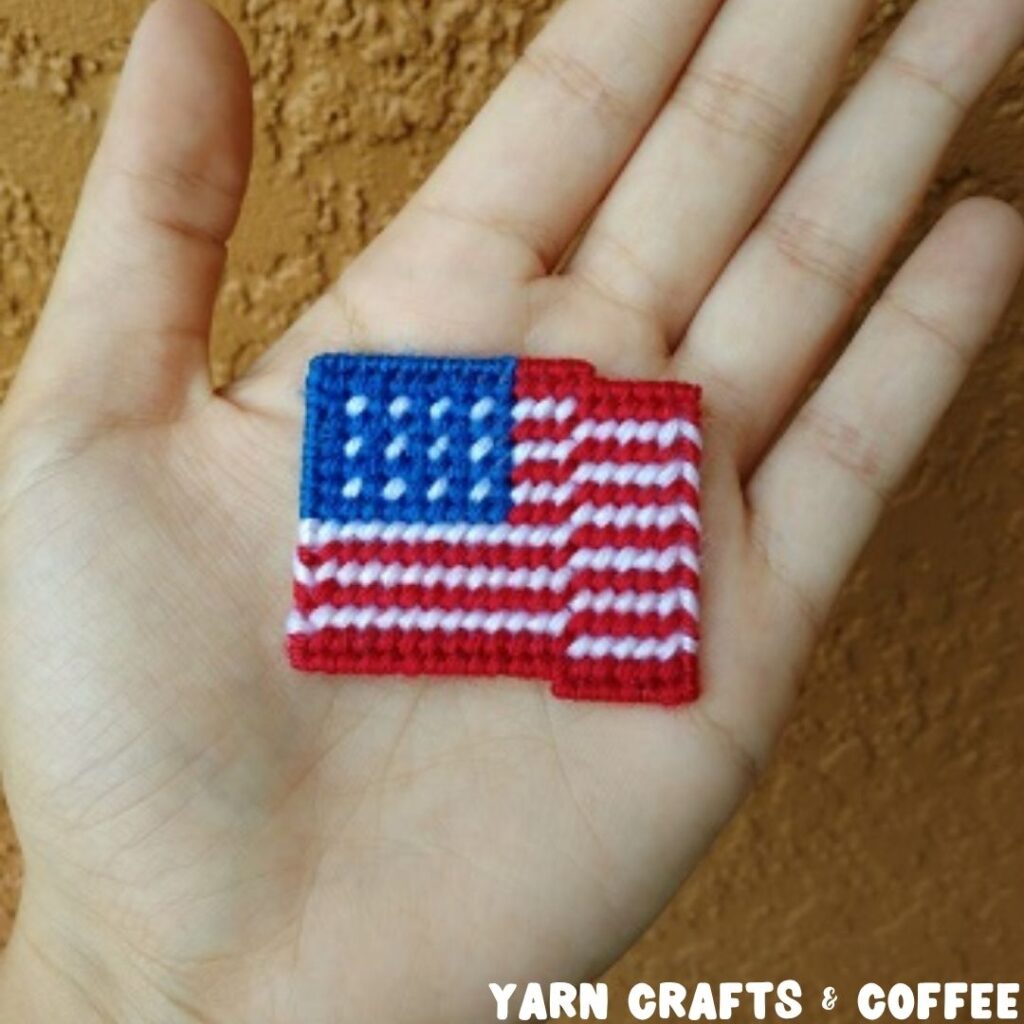
Measurements:
1 7/8″ Wide by 1 5/8″ Tall
How to Continental Stitch aka Half Cross Stitch aka Tent Stitch
The Tent Stitch is a series of single diagonal stitches that run parallel to each other. There are a few variations of the Tent Stitch, but you’ll want to choose either the Continental or Half Cross to work your project in. The front of the stitch pattern looks the same, but the back of the stitch pattern varies. I prefer the Continental Stitch because it makes for a fuller, neater back, though it does use a little bit more yarn than the Half Cross Stitch. It is not uncommon to combine both styles as you work and not even realize it until you take a peek at the back, and really that is totally okay! As long as the front of the project looks correct, the back is no big deal so don’t feel pressure to pull any stitches out just to work in one style over the other.
Pattern Notes:
I recommend your anchor stitch and final end of each strand be about 1/2″ – 1″ long.
I love to stitch in the Continental style when working the Tent Stitch because I get a nice, clean back that is easy to hide my tail ends in.
View & Download the Cut Graph, Stitch Graph & PDF:
As a blogger, I rely on views to my blog to earn money from my ads. Despite asking my graphs not to be shared in Facebook groups and saved to public Pinterest boards, they still are, and this makes it so makers do not need to visit my blog, which results in a loss of views and income for me. I love being able to offer the plastic canvas pattern for free and I will continue to do so, however, they will only be viewable by blog subscribers.
Yarn Crafts & Coffee newsletter subscribers get access to Exclusive Subscriber Content, like the free PDF of this pattern via the Free File Library. The library is password protected so sign up for my newsletter and you’ll receive a Welcome email containing this month’s password, or if you are already a blog subscriber, reference your latest newsletter for this month’s password. From the library, you’ll be able to access the PDFs via Google Drive – you do not need to have a Google Drive account to view and download the PDF.
My patterns are protected by copyright and are not free to share in Facebook groups or by private messaging. If you enjoy my pattern and would like to share it, feel free to share an image of the completed project only without removing my watermark or share a photo of your completed project and share the blog link to this tutorial so others can visit for themselves.
Wavy American Flag Plastic Canvas Tutorial:
First, cut out the flag pattern. If it’s easier to start with a smaller piece of canvas, you’ll want 15 holes by 18 holes.
Following the stitch chart, work using the Tent Stitch – I like to work in the Continental variation for a cleaner back.
I like to work with the lighter colors first, and then carry the darker colors under the lighter sections to get to their sections as needed.
After you finish stitching the flag details, whipstitch around to finish. I did match my colors on the sides, even though they slant away from the colors in the flag, but in a way, I think it compliments the wavy pattern on the right side. On my next one, I would work two stitches per hole with the first one being horizontal in the respective color and then a slanted one in the next color to better match.
Please feel free to make and sell your own items made using this pattern, but keep in mind, this written pattern and my photos are protected by copyright. Please DO NOT claim this pattern as your own nor should you sell my pattern. DO NOT re-publish my photos as your own. DO NOT copy and paste my pattern anywhere, link to it instead so other’s can visit. Making videos providing instructions how to make my projects on any social media platform is also not permitted.
Linked Up To:
- Craftastic Monday Link Party – Sew Can Do
- Anything Goes Linky 478 – My Random Musings
- Handmade Monday #475 – Sum of their Stories
- The Happy Now Blog Link- Up #532 from JENerally Informed
- Talking about it Tuesdays #124 – My Slices of Life
- Fabulous Party 635 – Lou Lou Girls
- Vintage Charm Party #543 – My Thrift Store Addiction
- The Crafter’s Party June – Oombawka Design Crochet
- Wonderful Wednesday – My Life Abundant
- Creatively Crafty Linky Party #305 – Artsy Fartsy Mama
- Thursday Favorite Things #763 – Artful Analog
- Create-it Link Party #450 – Try It Like It Create It
- Create, Bake, Grow & Gather Party #730 – Shabby Art Boutique
- Home Matters Linky Party #584 – Modern on Monticello
- Funtastic Friday #596 – Coastal Bohemian
- BFF Open House – Chocolate is the Answer
- The Crazy Little Love Birds Link Party #144 – Crazy Little Love Birds
- Share Your Style #501 – French Ethereal
- Wednesdays in the Studio – Link Party 71 – Studio 27
- Creative Muster Link-Up Party 675 – Fluster Buster
- Farmhouse Friday 446 – County Road 407
- Saturday Sparks Link Party 721 – Pieced Pastimes
- Morning Cup of Joe – The Cottage Market
- Sundays on Silverado #305 – The House on Silverado
- Craft Schooling Sunday – Creative Jewish Mom
Our Wavy Plastic Canvas Flag was featured at the Craftastic Monday Link Party hosted by Sew Can Do!