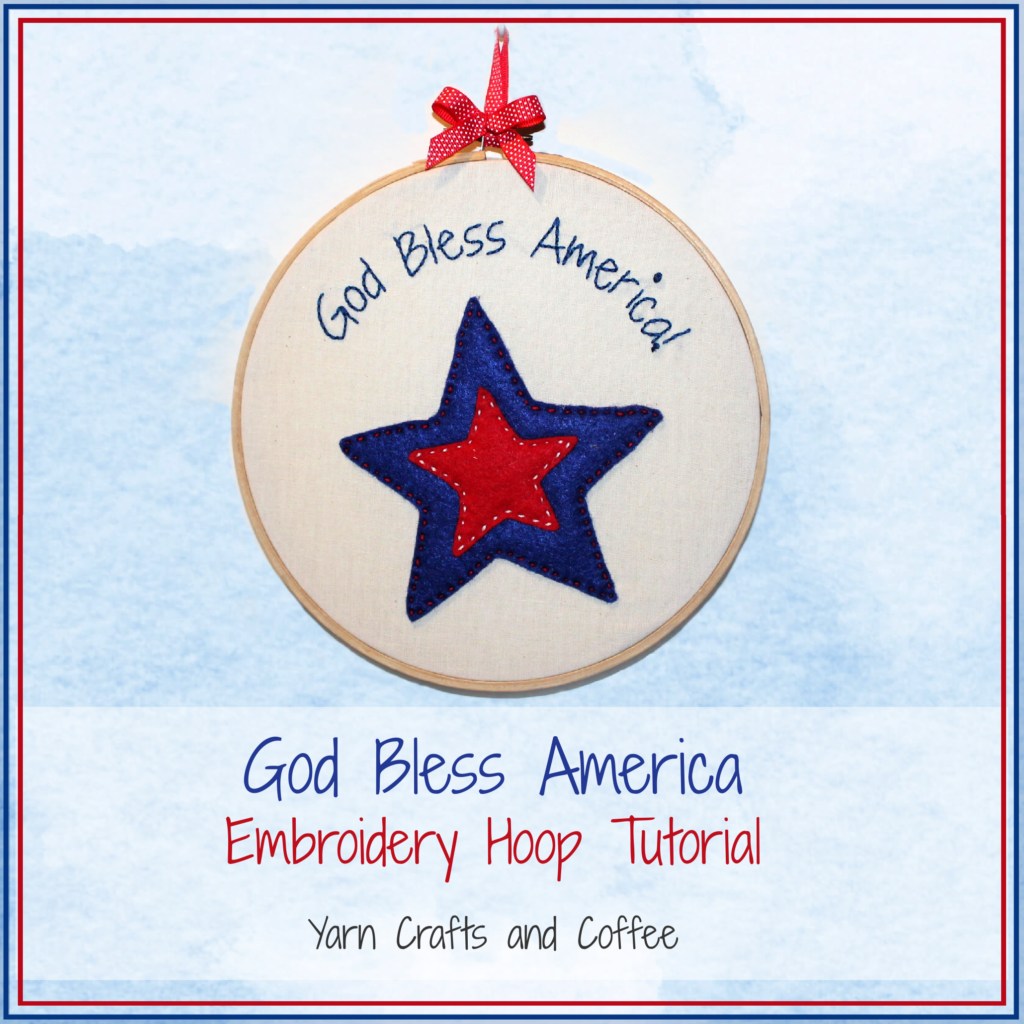
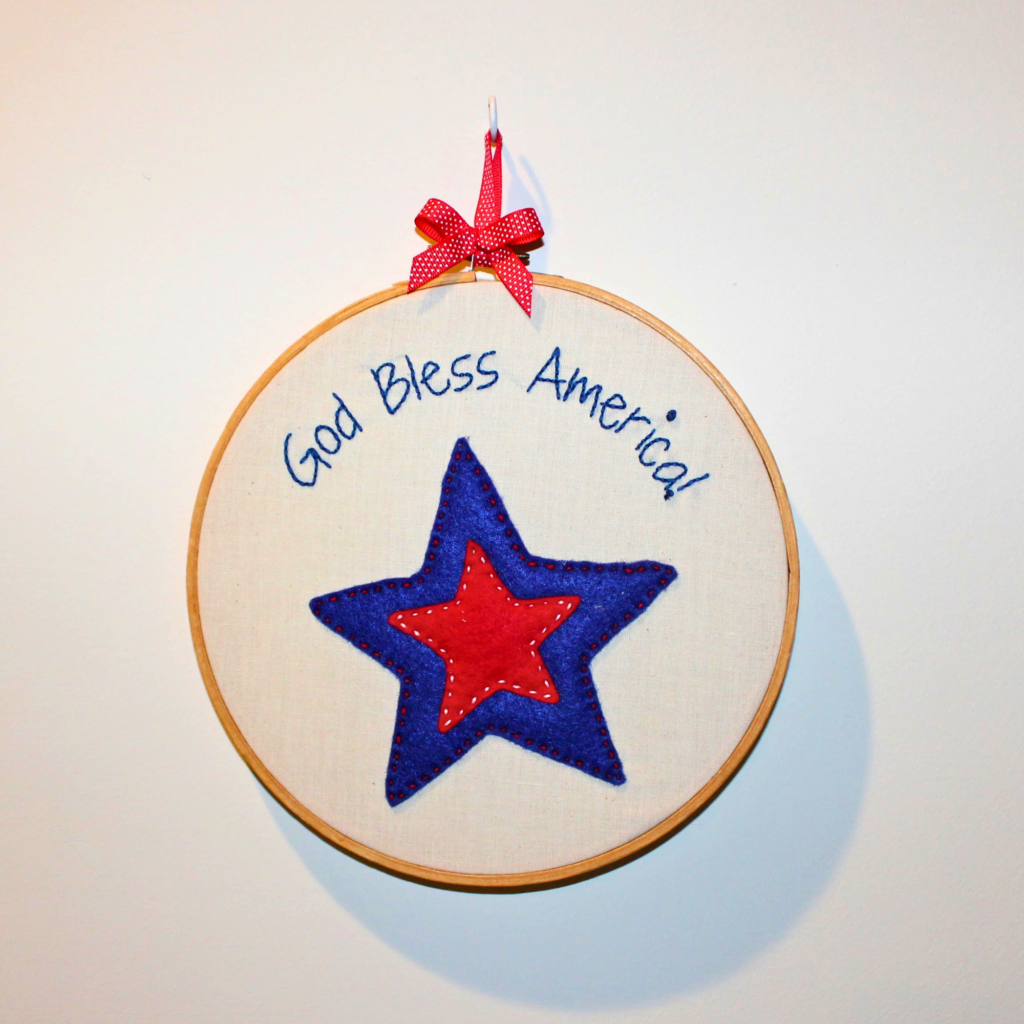
Looking for a simple, meaningful way to decorate for the Fourth of July? This DIY God Bless America Embroidery Hoop is an easy craft that adds a handmade, patriotic touch to your home decor. The tutorial is shared by Candace of T&C Crafters for Yarn Crafts & Coffee.
This post contains affiliate links. If you make a purchase by clicking on them, I make a small commission at no extra cost to you. I only recommend products I love and hope you’ll love them too! Click here to find out about the different affiliate programs I am apart of. This post also contains shop links to my yarn shop and craft store, Yarn Crafts & Coffee. You can shop online or in person in Melbourne, Florida.
In a hurry? Pin this for later.
It’s me, Candace, with T&C Crafters! I’m so excited to have the opportunity to share a fun DIY tutorial with you today!
Visit with me on Facebook and Instagram for all kinds of awesome crochet makes and inspiration using plushie yarn.
This embroidery hoop project is great for beginners and experts alike! It uses felt to make a big impact and only requires knowledge of three different embroidery techniques (running stitch, backstitch, and French knots) so no advanced stitching skills needed. If you click on each of the stitches, I provided links to excellent video tutorials from Mary Corbet’s Needle n’ Thread YouTube Channel.
I have included a FREE template that you can use to trace out the design to make this project exactly like I did!
This finished God Bless America Embroidery Hoop is super versatile to decorate your home throughout the year for the Fourth of July, Memorial Day, and Veteran’s Day! Try it out in any of the following places:
- Hanging on a gallery wall with other Americana decor pieces
- Decorating a mantel for the Fourth of July or Memorial Day
- Adding to a tiered tray display for a Fourth of July cookout
Make this project your own
While this project is pretty straight-forward, there are still lots of ways to personalize it! Change things up with some of these different customization options:
- Use a different stitch for your lettering
- Add small star buttons or sequins to jazz up the outside of the design
- Use a patterned fabric like polka dots or stripes
- Swap the bright red, white, and blue for more muted colors for a vintage or farmhouse look
I really hope you enjoy making this embroidery hoop decor as much as I did!
Ad-Free Printer Friendly PDF:

Yarn Crafts & Coffee newsletter subscribers get access to Exclusive Subscriber Content, like the free PDF of this pattern via the Free File Library. The library is password protected so sign up for my newsletter and you’ll receive a Welcome email containing this month’s password, or if you are already a blog subscriber, reference your latest newsletter for this month’s password. From the library, you’ll be able to access the PDFs via Google Drive – you do not need to have a Google Drive account to view and download the PDF.
What Supplies Do You Need to Create Patriotic Embroidery Hoop art?
- 8″ Embroidery Hoop
- Fabric (Cotton or Linen Preferred) – I used 1 foot of light colored muslin.
- Water Soluble Fabric Pen
- Straight Pins
- Embroidery Needle
- Embroidery Floss in Red, White, and Blue – you’ll use the strand in it’s entirety of 6 strands
- Felt in Red, Blue, and Cream
- Approximately 1′ of Thin Ribbon to Use as Hanger
- Low Temperature Hot Glue Gun with Glue
- Fabric Scissors
Material Notes:
Can I use yarn instead of embroidery floss? Of course! Yarn will give you a thicker, more textured look. I would recommend sticking with a fingering weight #1 yarn so that you can still easily read your lettering.
A 6 – 8 inch embroidery hoop works best for this design based on the size of the template. If you want to use a bigger or smaller hoop, you may want to print out the template at a larger or smaller size.
45mm sewing pins that are 1 3/4″ long are a good size to use with thick fabrics as it’s a sturdy pin and a good length for thicker fabrics like felt.
Embroidery Needles with the sharp end are essential for embroidery as they are designed to easily pierce fabrics. The medium to long eye makes threading multiple strands of embroidery floss easier, though you may still want to use a needle threader.
Scissors are an essential tool. When I’m working on the go, I like to carry a pair of folding scissors as they fit perfectly in even the tiniest of bags. When I am working at home or have more space in my bag for a larger notions pouch, I like to use a pair of lightweight, all-purpose scissors as they are so versatile and great for a variety of things from cutting fabric to trimming floss and yarn ends after weaving in to cutting out a care tag to include with a handmade gift – just make sure to clearly mark your fabric scissors so they stay nice and sharp longer.
Tips for best results
- Keep your fabric tight in the hoop to avoid wrinkles in your fabric and design
- Use consistent stitch length for cleaner lettering and a cleaner look around the edges of the stars
- Choose high-contrast thread colors so you can really see them pop
- If you are new to embroidery, try practicing stitches on scrap fabric before starting on your project
View & Download the Embroidery Pattern:
As a blogger, I rely on views to my blog to earn money from my ads. Despite asking my graphs not to be shared in Facebook groups and saved to public Pinterest boards, they still are, and this makes it so makers do not need to visit my blog, which results in a loss of views and income for me. I love being able to offer patterns for free and I will continue to do so, however, they will only be viewable by blog subscribers.
Yarn Crafts & Coffee newsletter subscribers get access to Exclusive Subscriber Content, like the free PDF of this pattern via the Free File Library. The library is password protected so sign up for my newsletter and you’ll receive a Welcome email containing this month’s password, or if you are already a blog subscriber, reference your latest newsletter for this month’s password. From the library, you’ll be able to access the PDFs via Google Drive – you do not need to have a Google Drive account to view and download the PDF.
Our patterns are protected by copyright and are not free to share in Facebook groups or by private messaging. If you enjoy this pattern and would like to share it, feel free to share an image of the completed project only without removing our watermark or share a photo of your completed project and share the blog link to this tutorial so others can visit for themselves.
How to Make Your Embroidery Hoop Wall Hanging
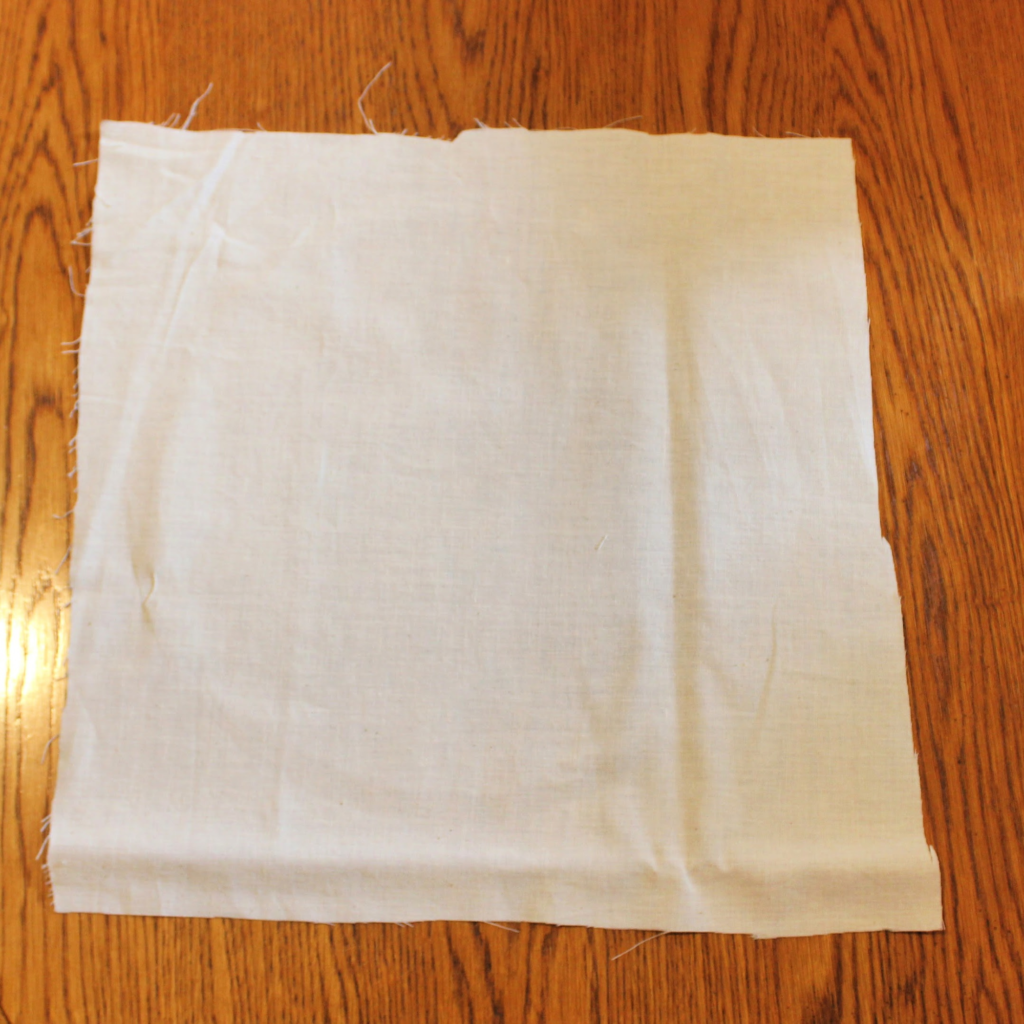
Step 1: Prepare Your Fabric
Begin by cutting out a square piece of muslin fabric that is approximately 11″ by 11″. Insert it tightly into the embroidery hoop and close the hoop. Then remove the fabric. This should leave you with a faint ring where the embroidery hoop will go.
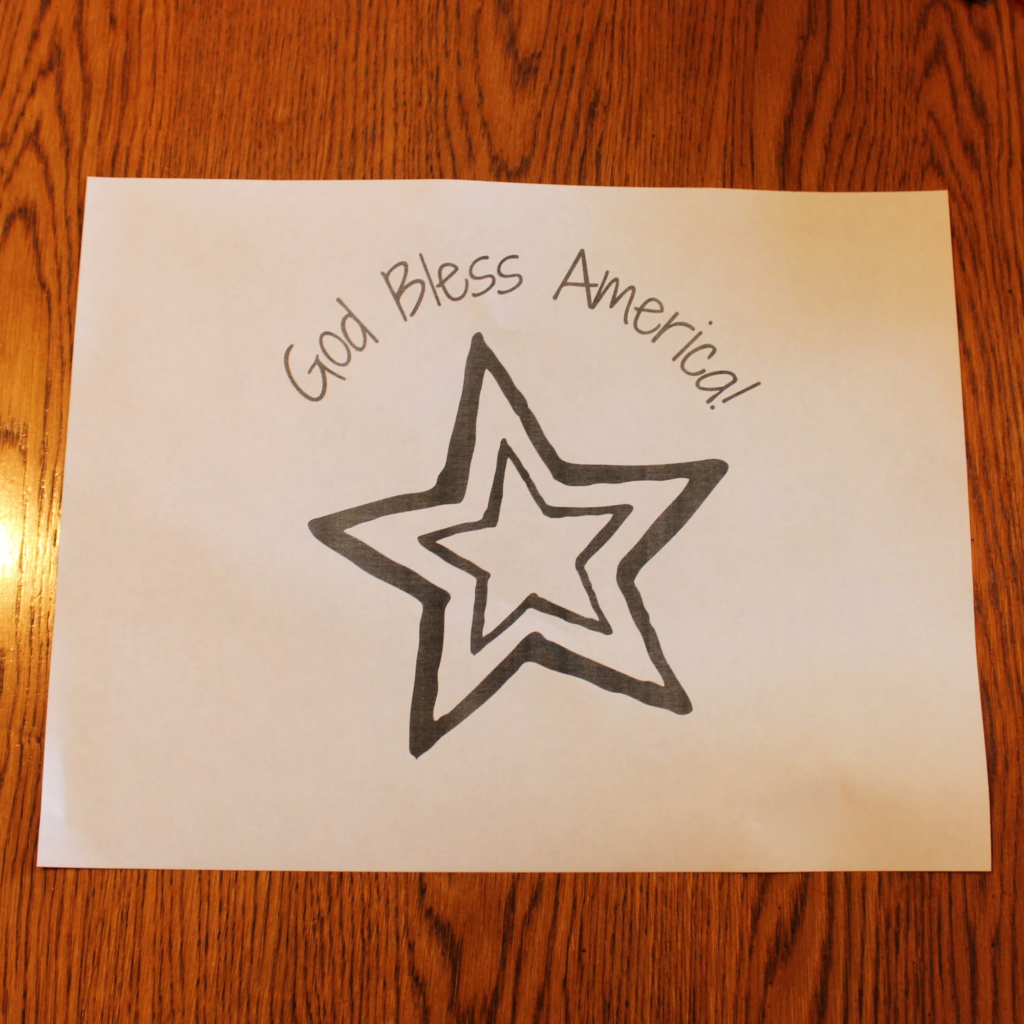
Step 2: Transfer the Pattern
Print out the template (you can download it from the materials list). Lay the fabric over the template and line up the fabric so the template is centered inside the circular indentations left by the embroidery hoop.
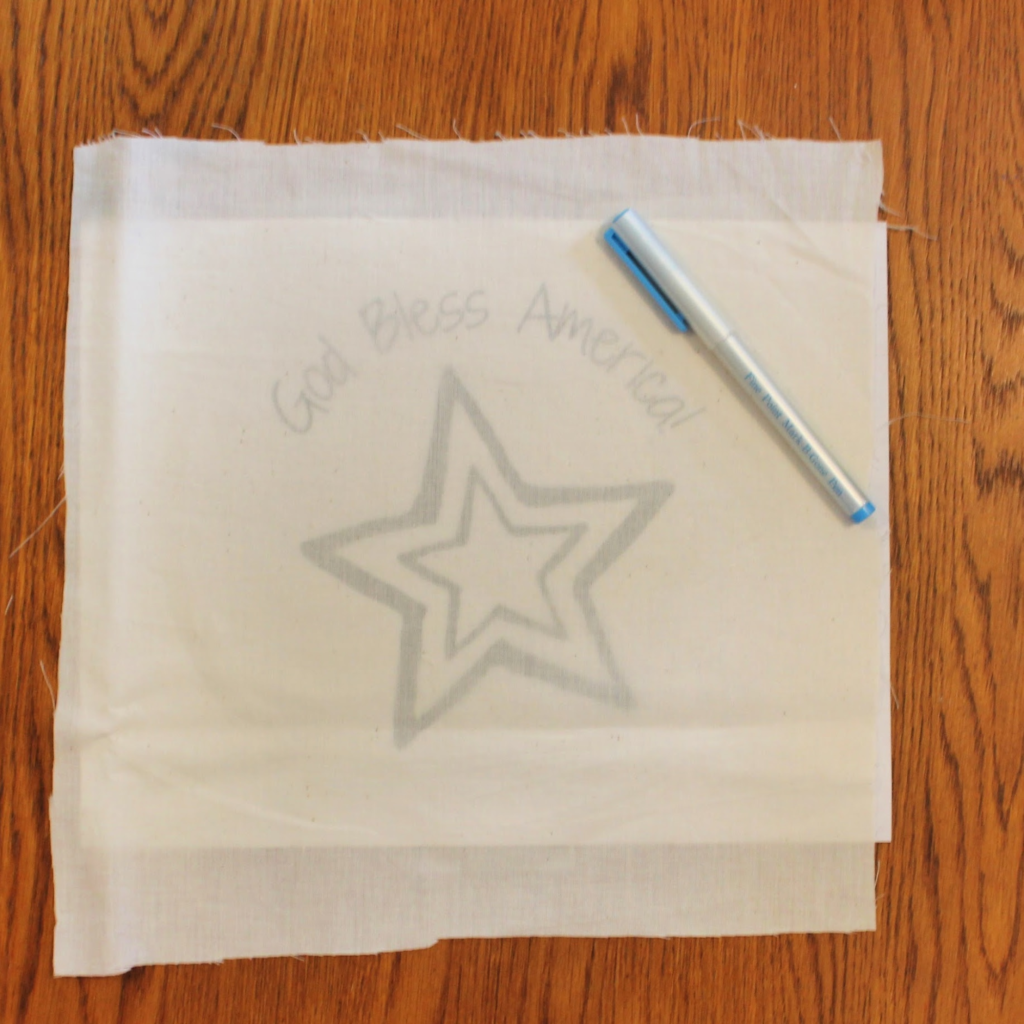
With a water-soluble marker or a pencil, trace the words “God Bless America.” This creates your pattern for embroidering.
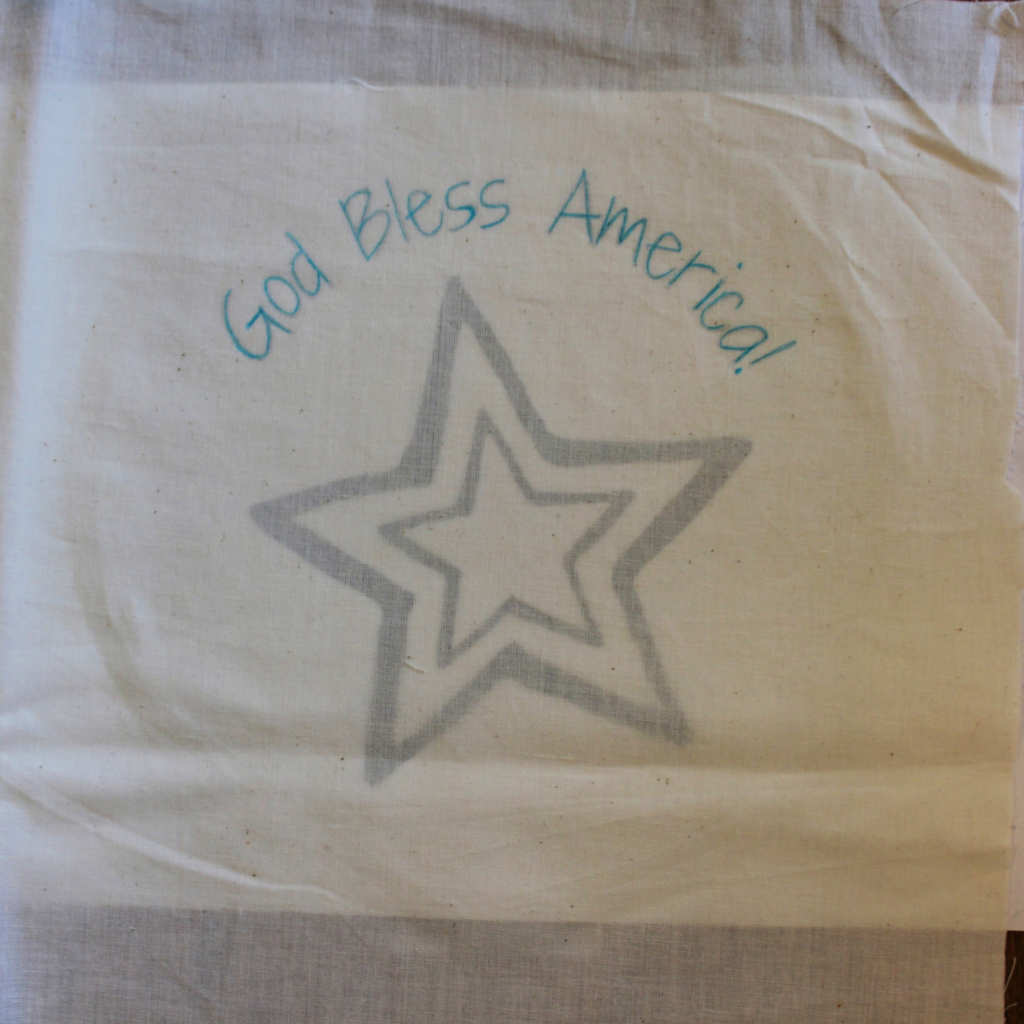
Put the fabric back into the embroidery hook with the traced template centered in the hoop. Tighten the hoop so the fabric is secure.
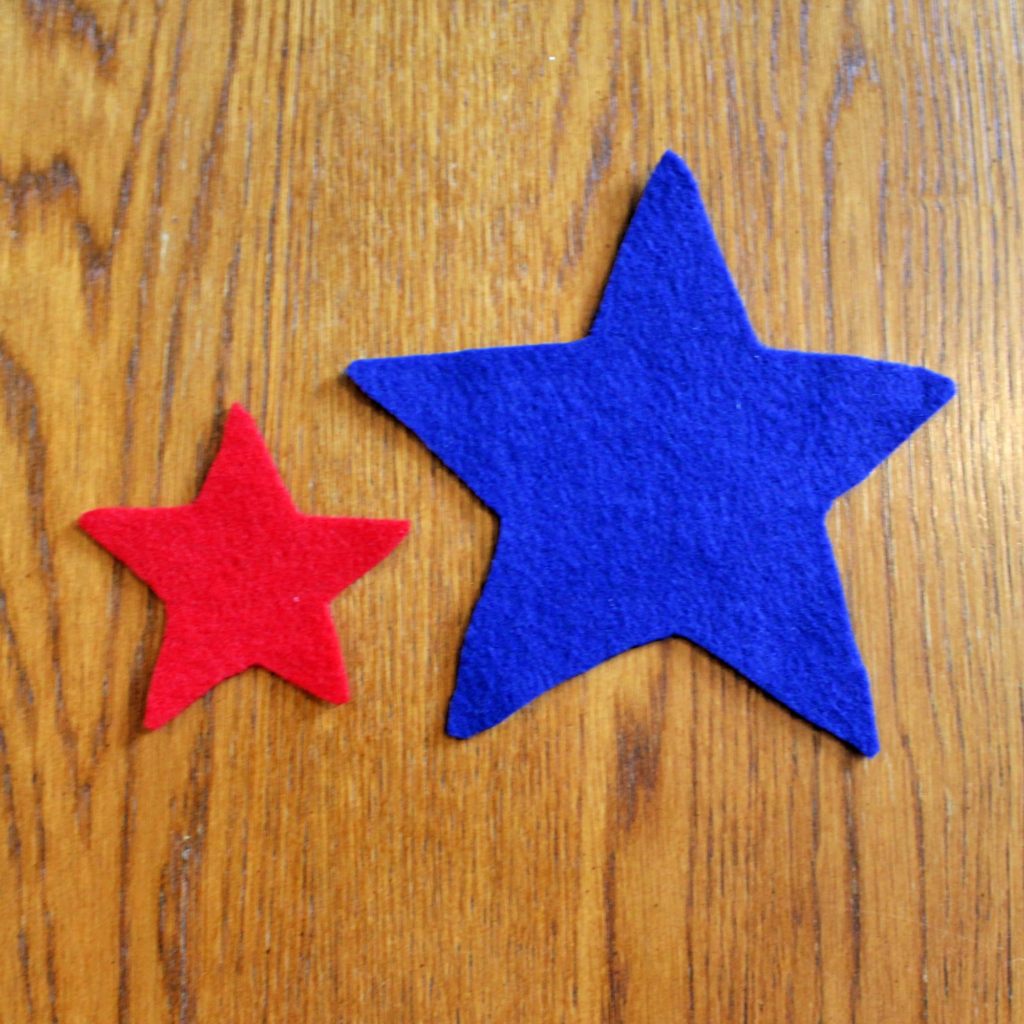
Step 3: Prepare the Felt Pieces
Cut out the pattern for the blue star by cutting around the outside of the star image on the template. Pin the pattern onto the blue felt and cut out the blue star.
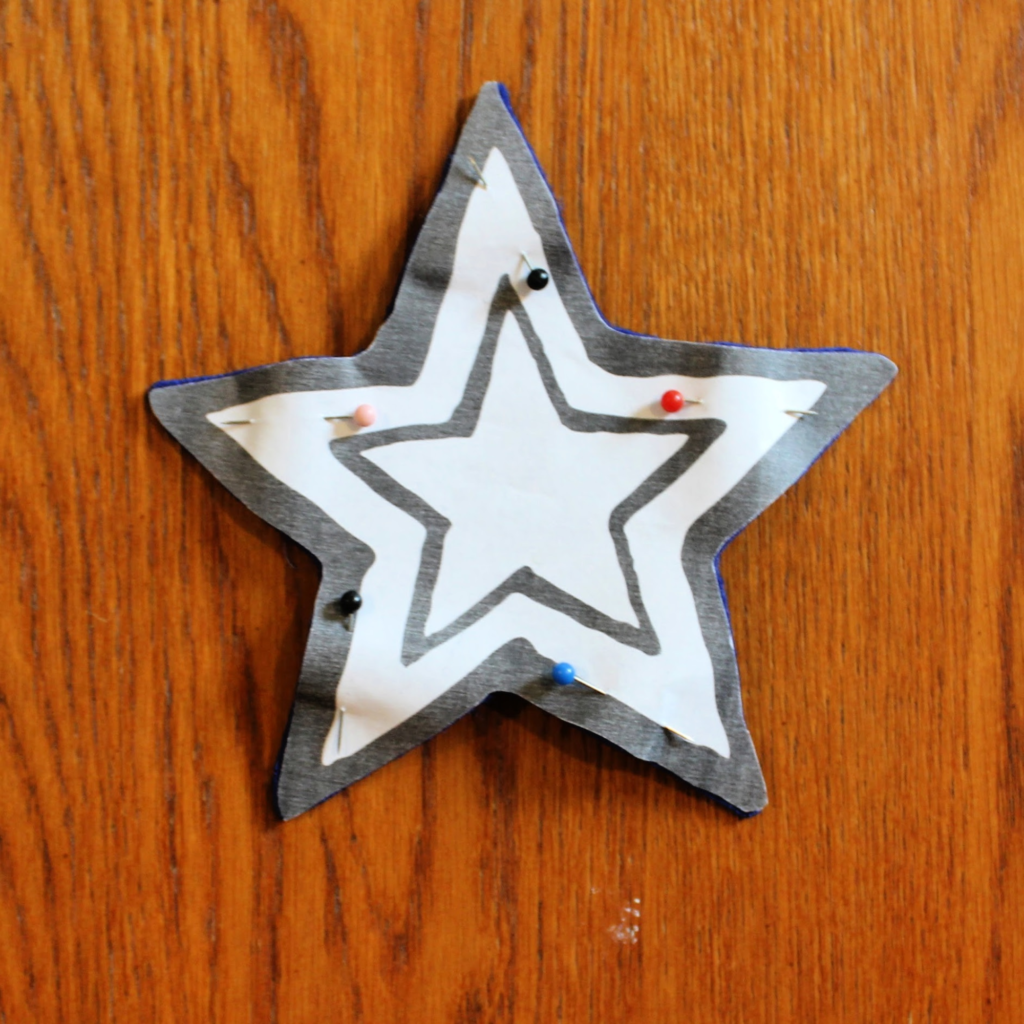
Cut out the pattern for the red star by cutting out the inside star from the template. Pin the pattern onto the red felt and cut out the red star.

Step 4: Attach the Felt Stars
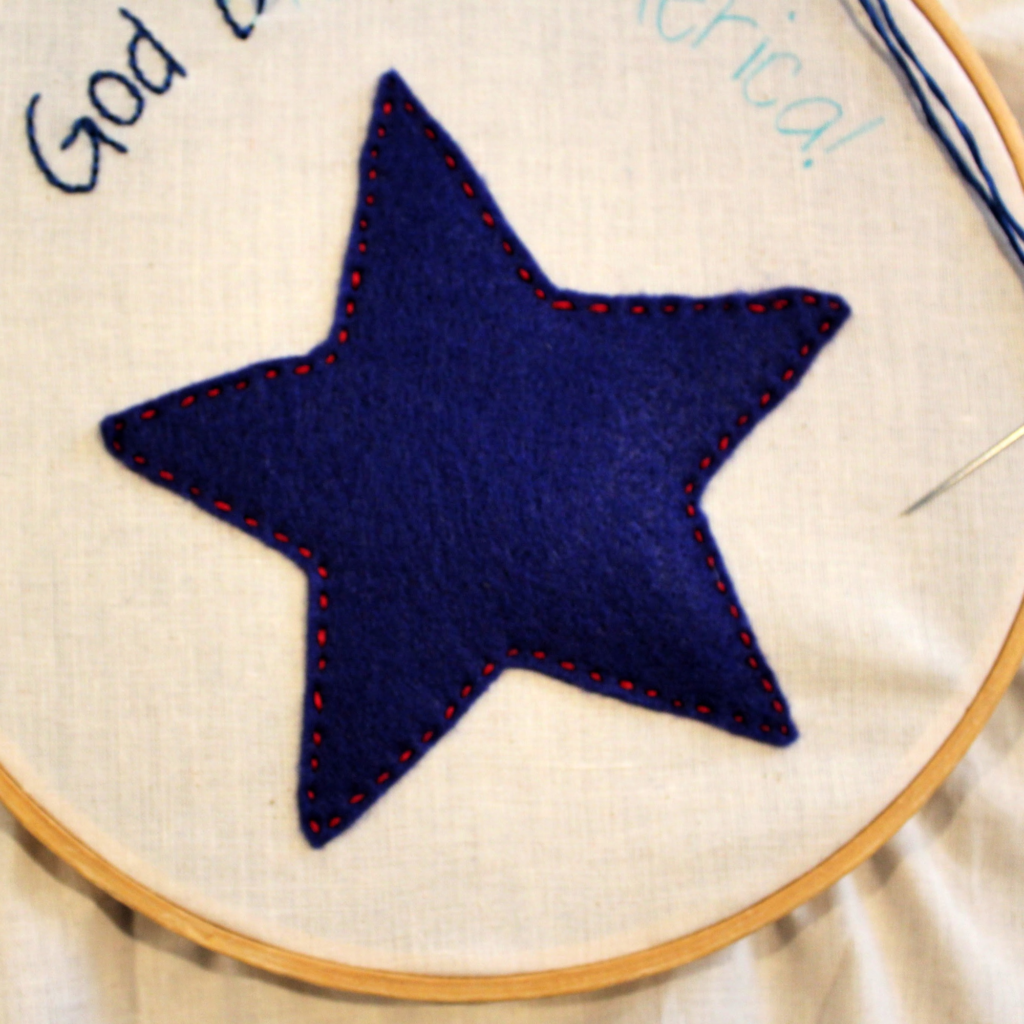
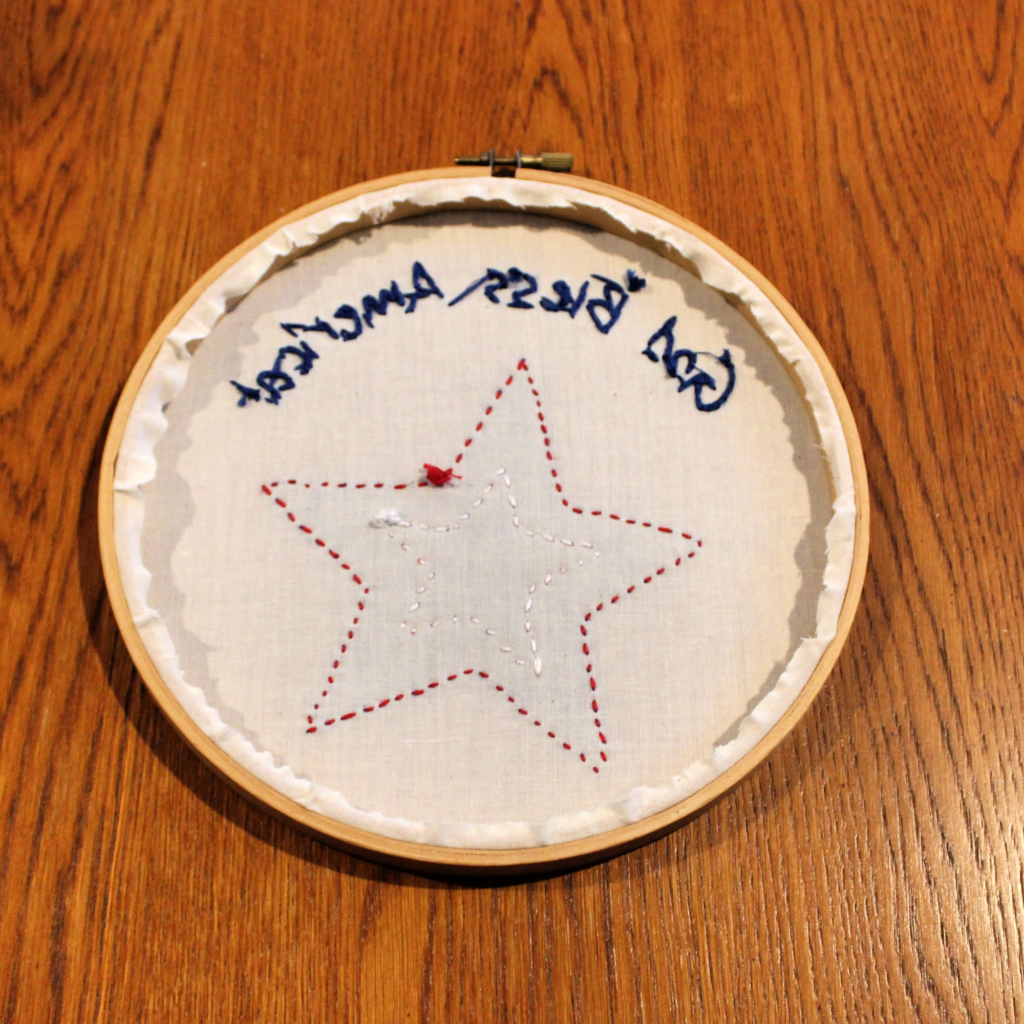
Position the stars where you would like them to lay on the embroidery hoop in relation to the words. Then, using red embroidery floss, create a running stitch around the blue star, about 1 mm from the edge the entire way around the star.
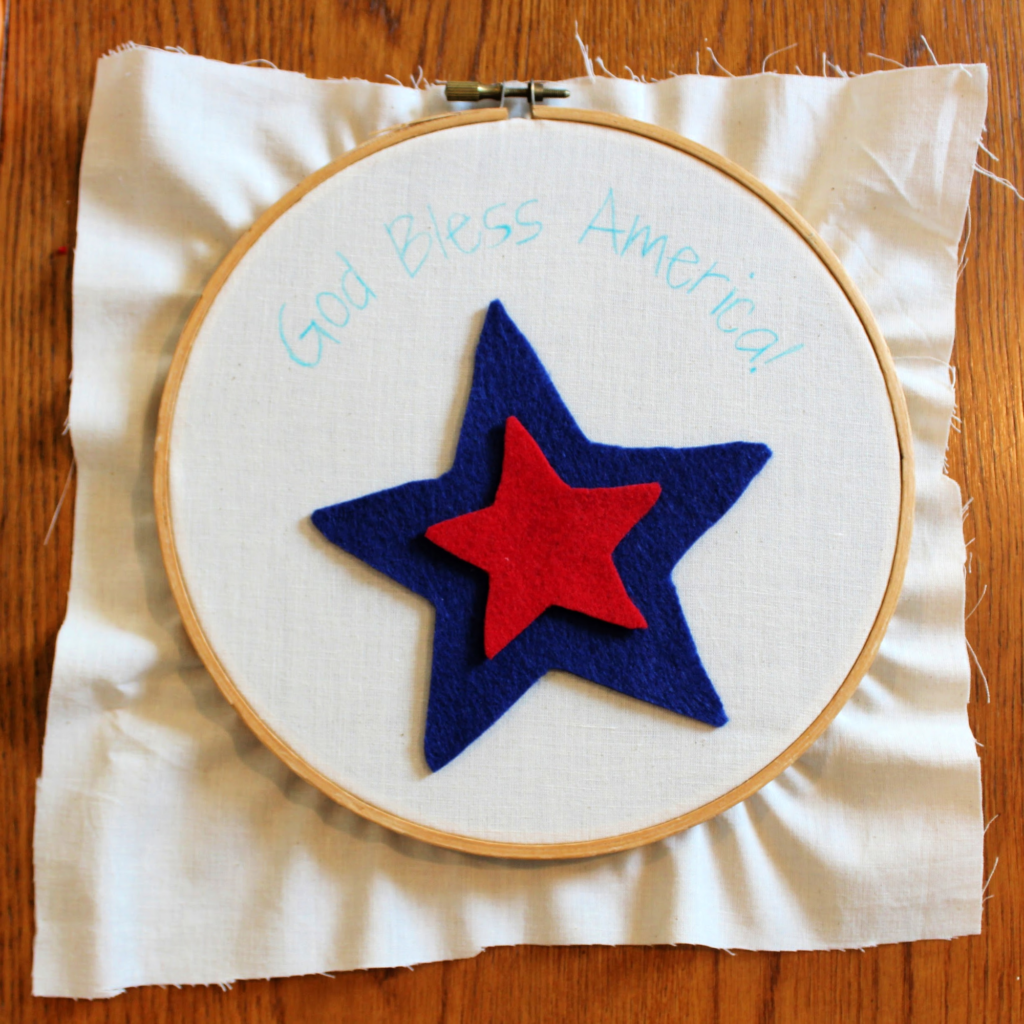
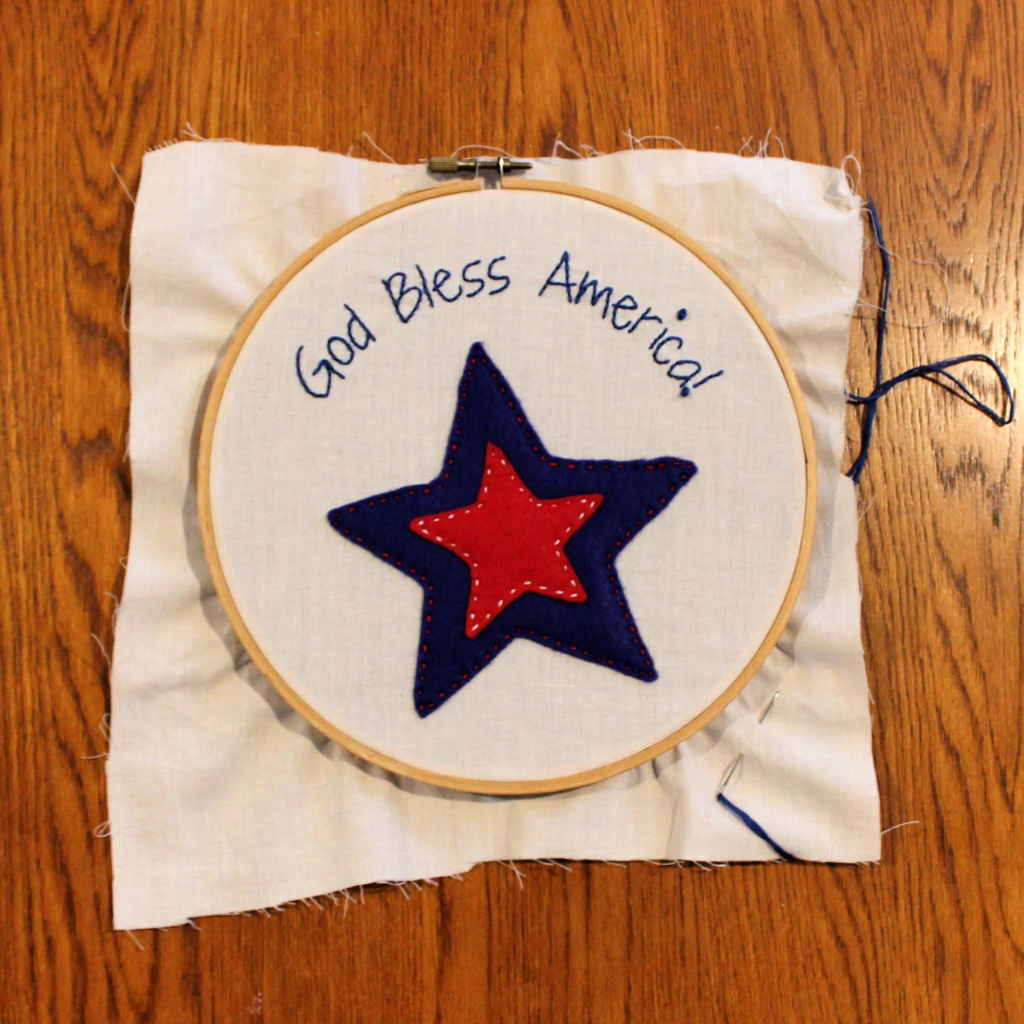
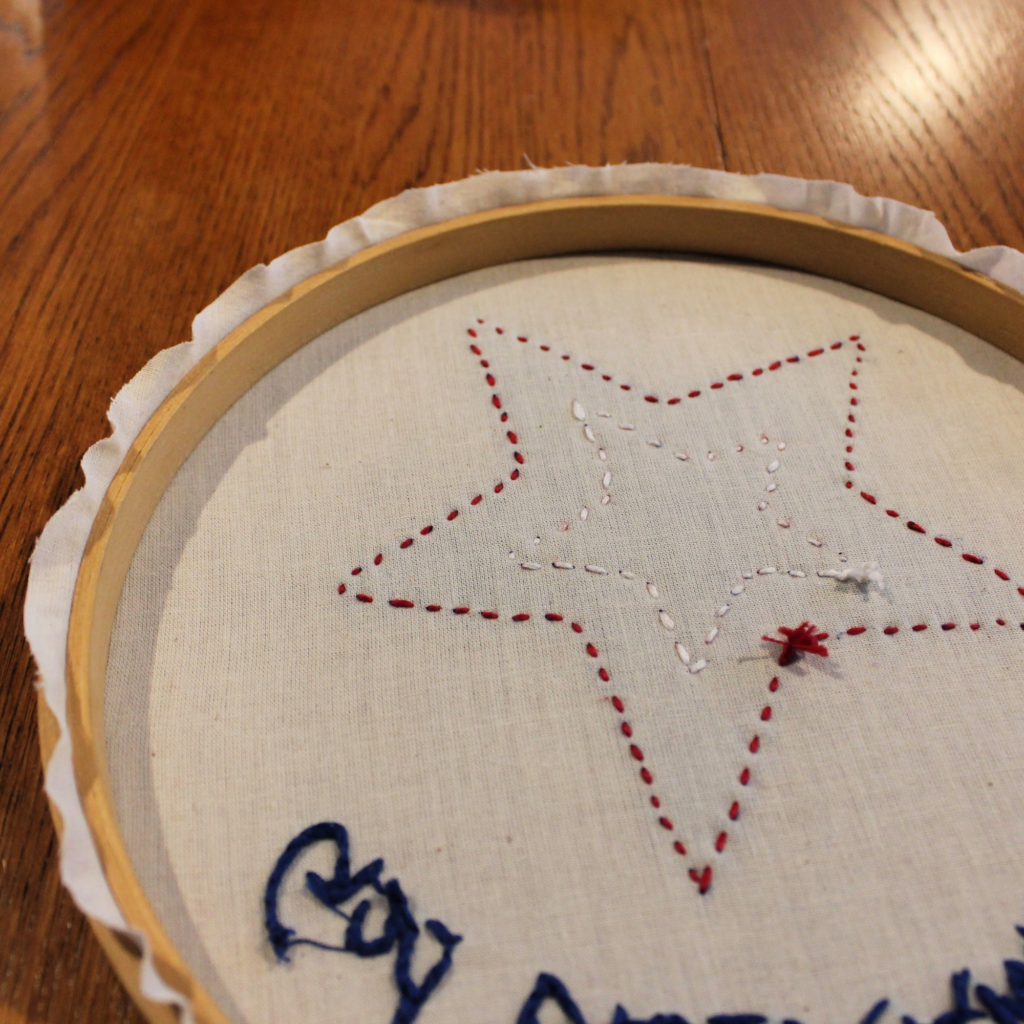
Using the white embroidery floss, create a running stitch around the red star, about 1 mm from the edge the entire way around the star.
Step 5: Embroider the Words
Using the blue embroidery floss, backstich the words “God Bless America.” For the dot on the “i” and the point on the exclamation mark, make a French knot.
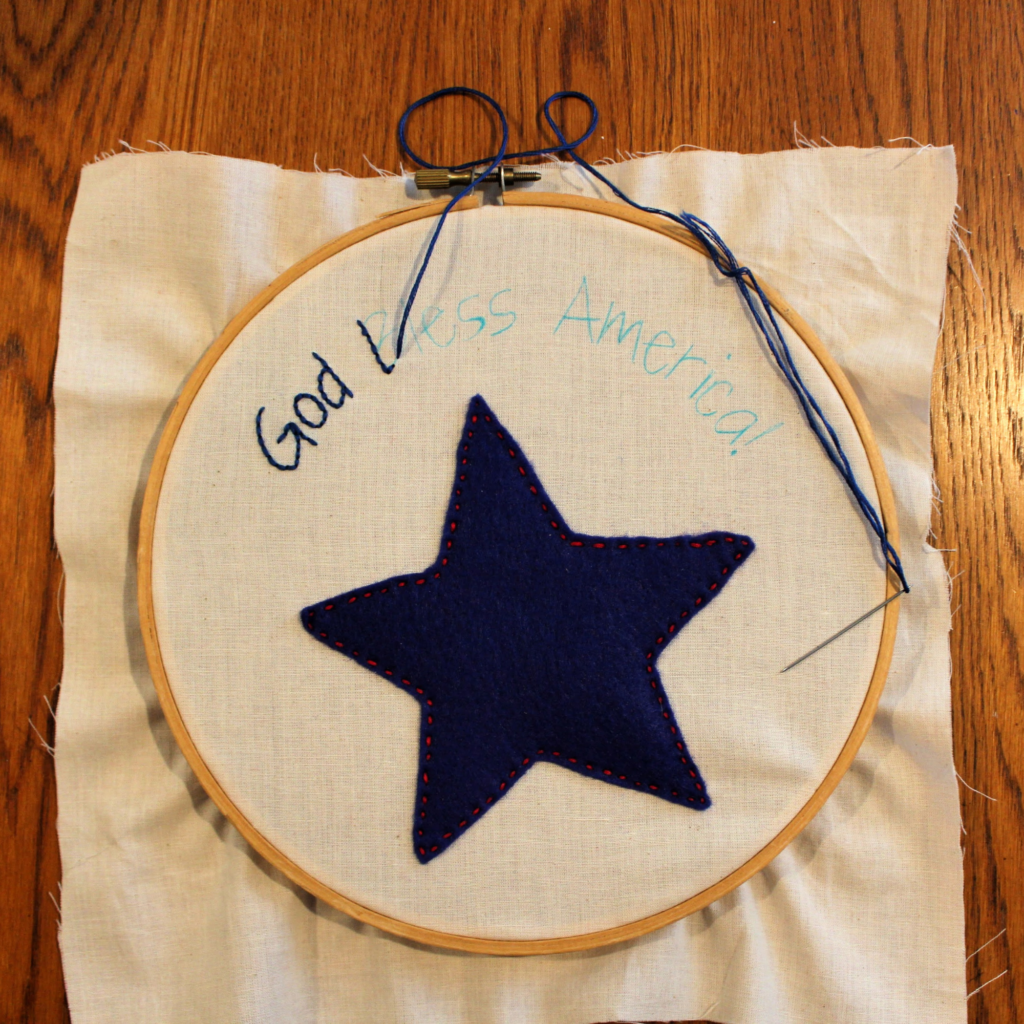
After you have finished embroidering, if you have any leftover marks from the water soluble pen, take a Q-tip and wet one end. Then, rub it around the areas where you can still see the pen marks. This should help the ink dissolve.
Step 6: Finish the Back of the Hoop
To finish the back of the hoop, cut the excess fabric around the outside of the hoop so you have about 1 cm – 1 inch of extra fabric. Then, using a low temperature hot glue gun, carefully apply a little glue to the inside ring under the fabric, and fold the excess fabric over the glued area, securing it to the ring. Continue around the entire ring so all the excess fabric is glued down. This will prevent it from coming loose later.
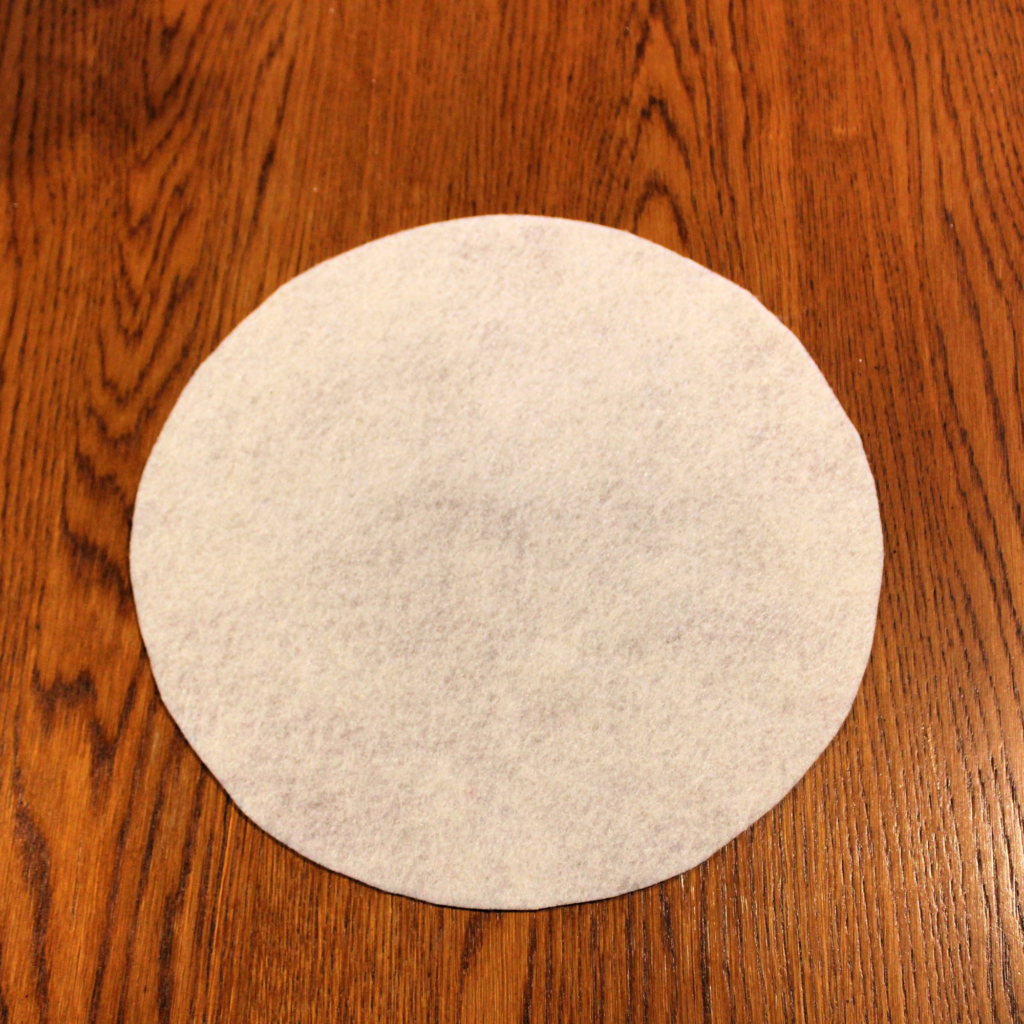
Using the cream color felt, lay the embroidery hoop on top of the felt and trace around the outside of the hoop. Then, carefully and neatly cut out the circle, cutting inside the traced lines so that the felt is slightly smaller than the hoop.
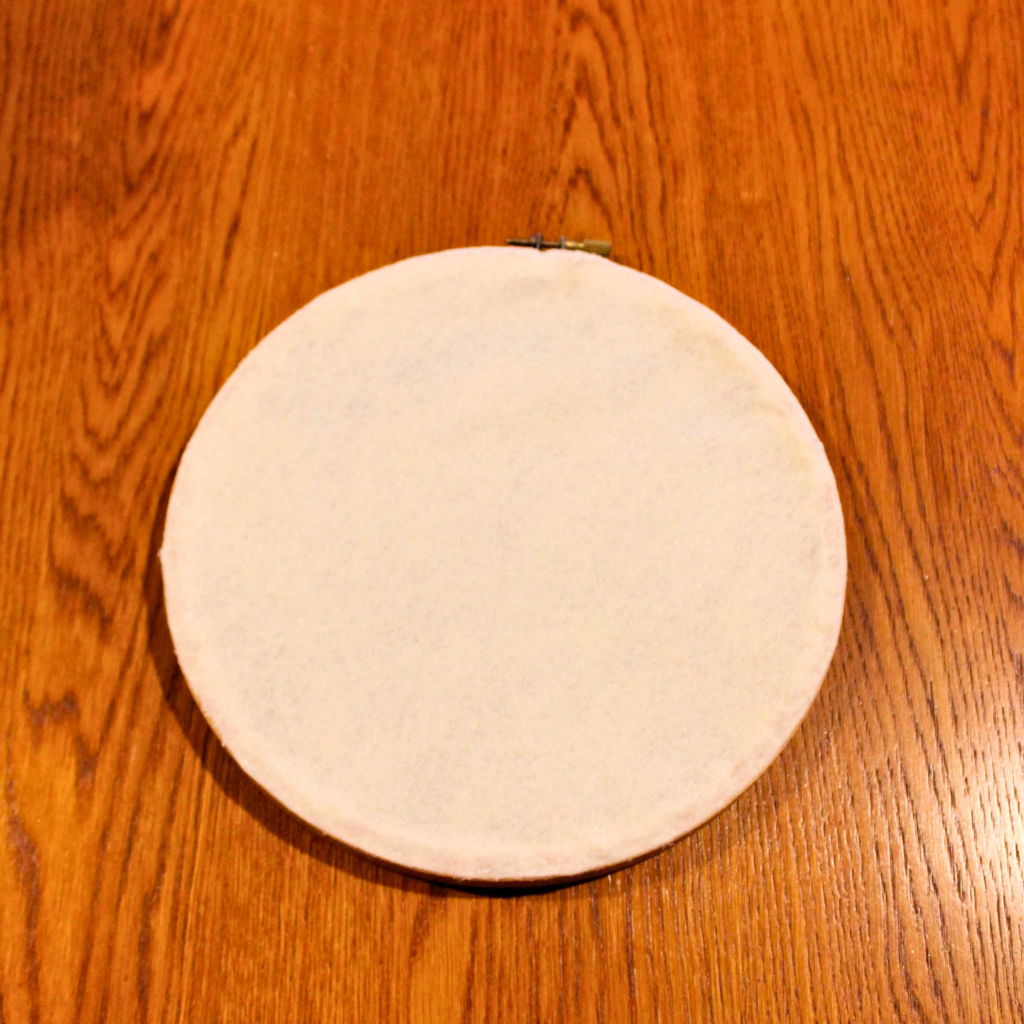
Lay the felt circle on the back of the embroidery hoop and carefully glue the felt onto the hoop, stretching it out as you go so that does not sag. When you are finished, if you have any felt or glue that goes past the side of the hoop, you can use your scissors to carefully trim any excess to make the backing look neater.
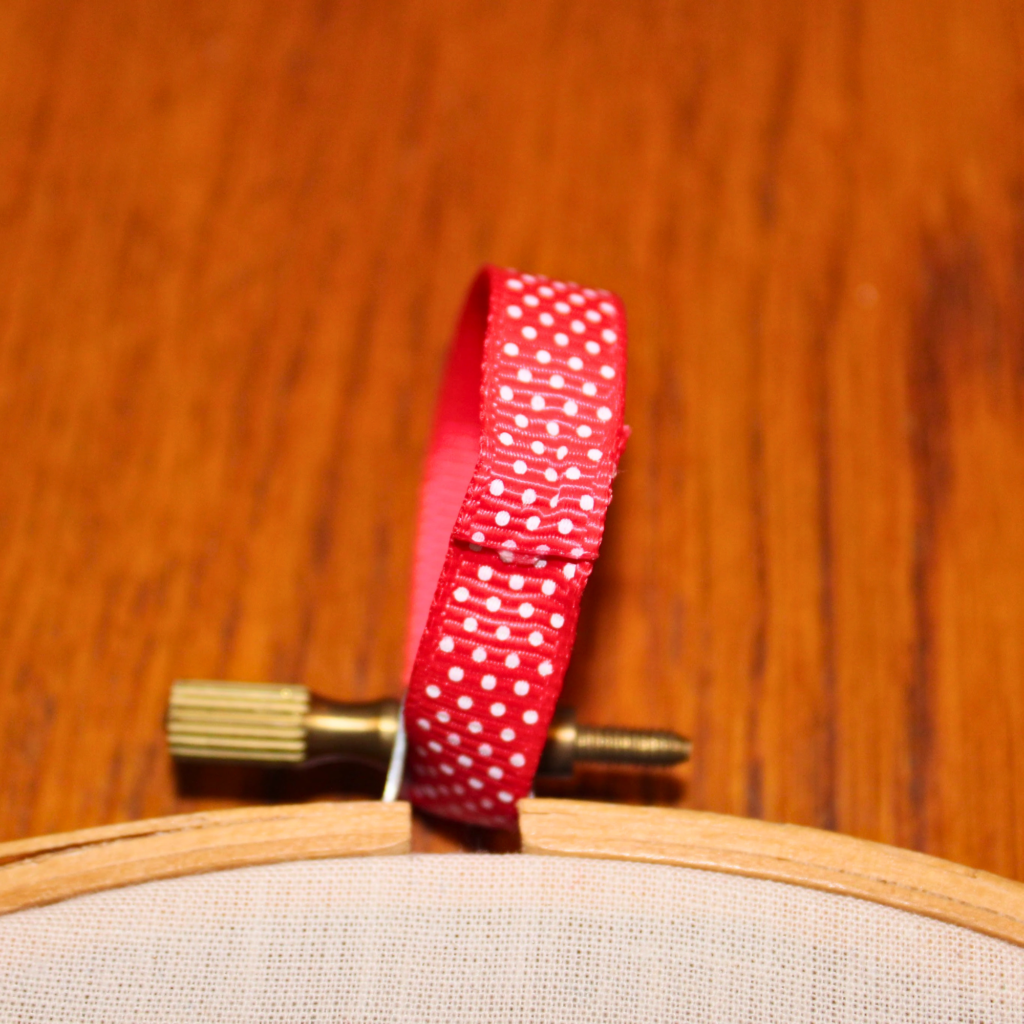
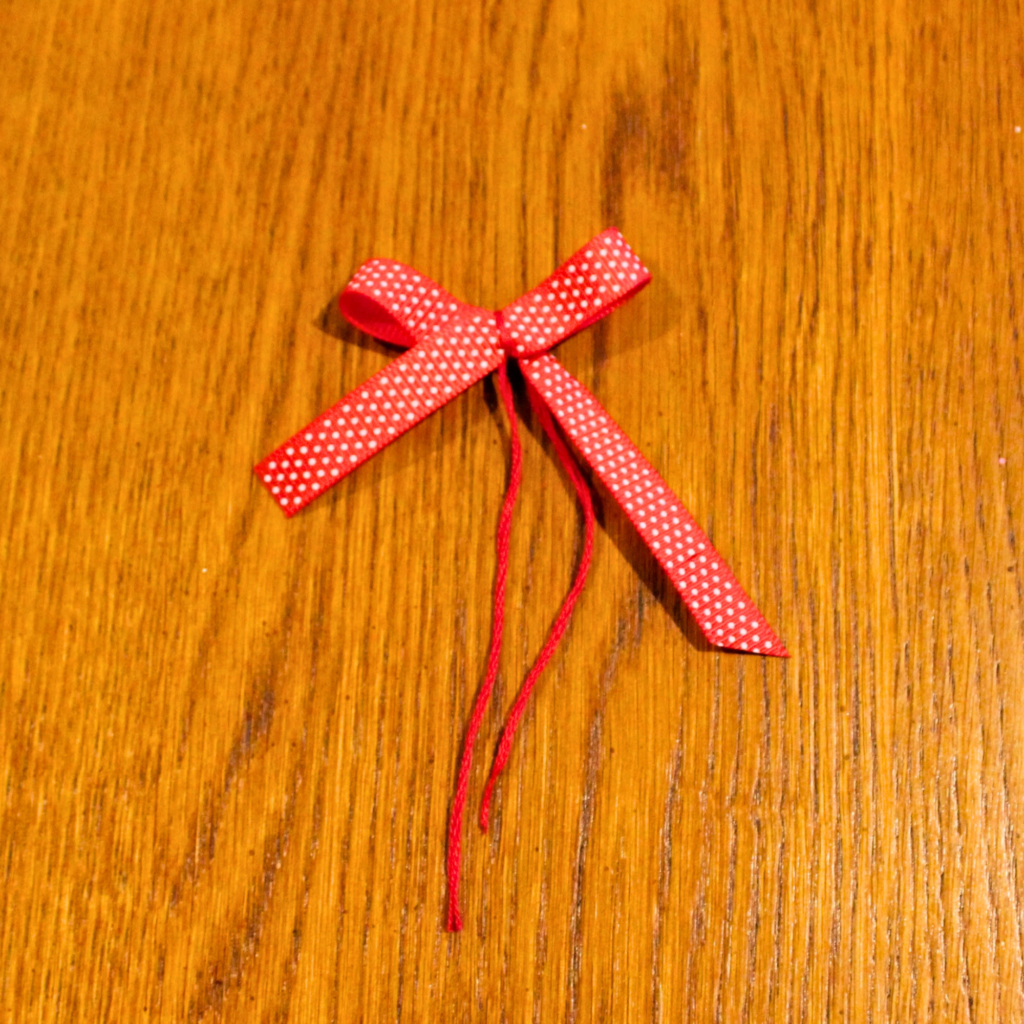
Step 6: Add a Hanger
Take a piece of thin ribbon that is a little more than twice as long as you would like your hanger to be and insert it through the gap between the embroidery hoop and the tightening screw. Glue the ribbon to itself to create a loop. Then, make a small bow with the same ribbon, and tie it onto the loop you just made using embroidery floss. If the ribbon is not laying how you would like it to, you can use a small amount of hot glue to position it how you would like it.
Hang your embroidery hoop and enjoy!
Looking for more patriotic projects
Be sure to check out all the great projects included in the Seeing Stars Crafting Event right here on Yarn Crafts & Coffee!
I really hope you enjoyed this project! I would love to see your finished pieces! If you share pictures on social media, please tag @yarncraftsandcoffee so we can see what you made!
Linked Up To…
- Anything Goes Linky 476 – My Random Musings
- Hello Monday – Pink Lady
- Craftastic Monday Link Party – Sew Can Do
- The Really Crafty Link Party #515 – Keeping it Real
- Senior Salon Pit Stop – Esme Salon
- Handmade Monday #476 – Sum of their Stories
- Fabulous Party 635 – Lou Lou Girls
- The Happy Now Blog Link-Up #533 – JENerally Informed
- Talking About it Tuesdays #125 – My Slices of Life
- Busy Monday 727 – A Pinch of Joy
- Vintage Charm Party #544 – My Thrift Store Addiction
- The Crafter’s Party – Oombawka Design Crochet
- Creatively Crafty Linky Party #306 – Artsy-Fartsy Mama
- Wonderful Wednesday Blog Hop – My Life Abundant
- To Grandma’s House We Go Link Party #509 – Grandma’s House DIY
- Wednesdays in the Studio – Link Party 72 – Studio 27
- Create-it Link Party #451 – Try it – Like it – Create it
- BFF Open House – Chocolate is the Answer
- The Crazy Little Lovebirds Link Party 145 – Crazy Little Lovebirds
- Home Matters Linky Party #585 – Modern on Monticello
- Funtastic Friday Link Party #597 – Coastal Bohemian
- Farmhouse Friday 447 – County Road 407
- Create, Bake, Grow & Gather Party #731 – Shabby Art Boutique
- Saturday Sparks Link Party 722 – Pieced Pastimes
- A Morning Cup of Joe – The Cottage Market