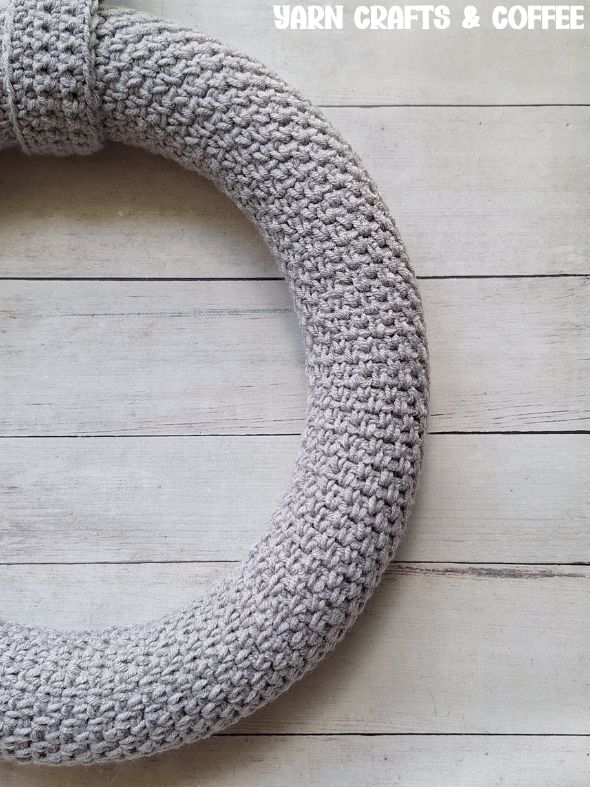
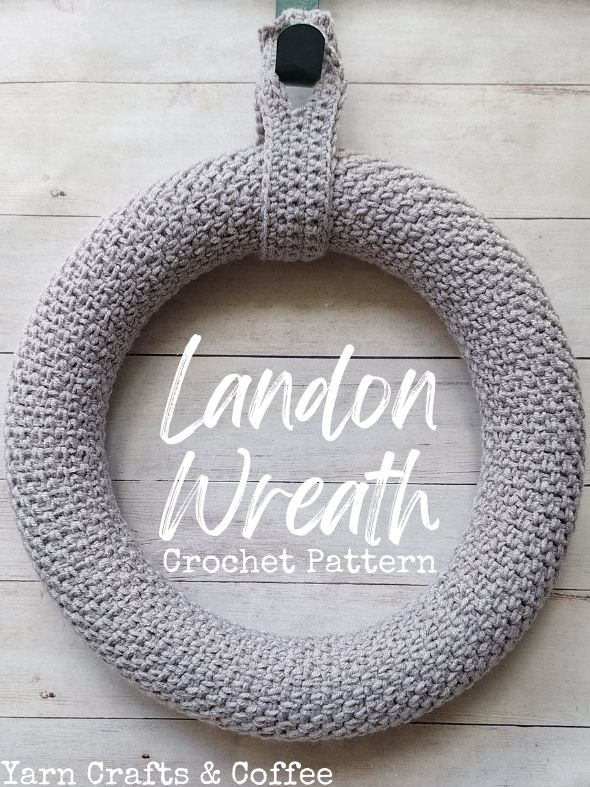
Learn how to crochet a foam wreath form cover using the moss stitch crochet pattern, which is comprised of simple single crochet stitches and chains to transform it into a crocheted wreath that looks beautiful with or without embellishments and can be used all year long with this free crochet pattern.
This post contains affiliate links. If you make a purchase by clicking on them, I make a small commission at no extra cost to you. I only recommend products I love and hope you’ll love them too! Click here to find out about the different affiliate programs I am apart of. This post also contains shop links to my yarn shop and craft store, Yarn Crafts & Coffee. You can shop online or in person at Crochet Aweigh in Eustis, Florida.
Find the free crochet pattern instructions below, or purchase a printer-friendly, ad-free PDF on Ravelry by clicking here.
In a hurry? Pin this for later when you have more time.
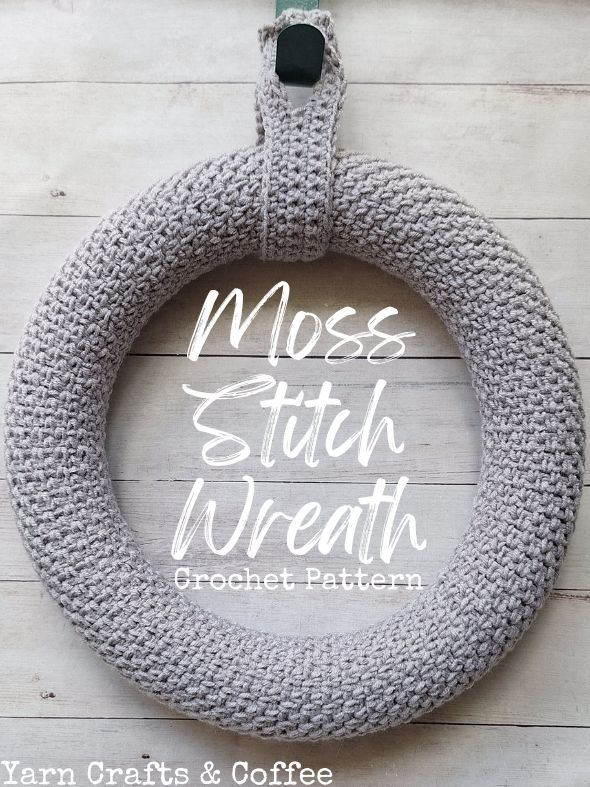
On my front door, you’ll always find a wreath. I just love coming home to a cheerful wreath – it really brightens up my day.
I have been working to update the designs in my Hilda crochet series, and that includes a wreath covered in beautiful, textured crochet flowers. Originally, it started with a single crochet base, but because I use that base for most of my wreath patterns, I decided to create a new wreath base worked in the moss stitch aka the linen stitch, and then cover that in flowers.
I am working on a variety of sized flowers and crocheted leaves to embellish the wreath with, but until I get them all finished, you can use this easy moss stitch crochet wreath pattern to create your own easy wreath base that you can use all year long by simply embellishing it to fit the time of year.
One way to make your wreath base something that you can continue to use throughout the year is by securing the embellishments with sewing pins so they are not permanent. The sewing pins stick down into the styrofoam to keep everything in place for as long as you need, and then when you are ready to change the embellishments out, simply pull them out and redecorate.
Otherwise, you can whipstitch or glue embellishments onto the moss stitch crochet wreath. Hot glue works well for several years, but it can look a little messy, especially if it’s hot where you are, and the embellishments start to loosen over time. I prefer sewing on the embellishments, or using Titebond Quick and Thick Multi-Surface to glue them in place.
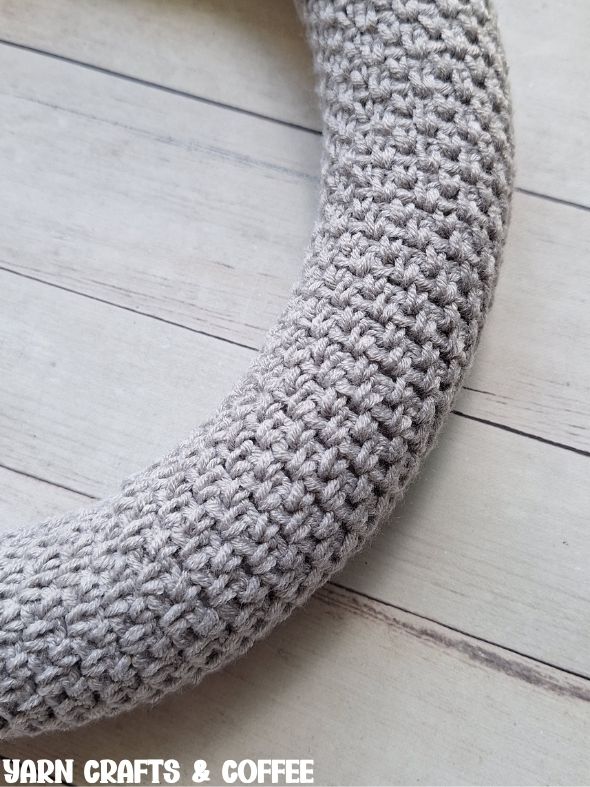
Easy Moss Stitch Crochet Patterns:
My Landon series is an easy crochet line that features the moss stitch aka the linen stitch, which is comprised of simple single crochet stitches and chains. It creates such a beautiful, woven texture, and looks really neat when worked in stripes. This is a beginner friendly series, and this wreath cover is a great project to pair with watching your favorite TV show or movie because it’s just one stitch for the entire project, and you don’t have to even count rows if you don’t want you – you can use a soft tape measure to measure as you go, and stop at the length desired.
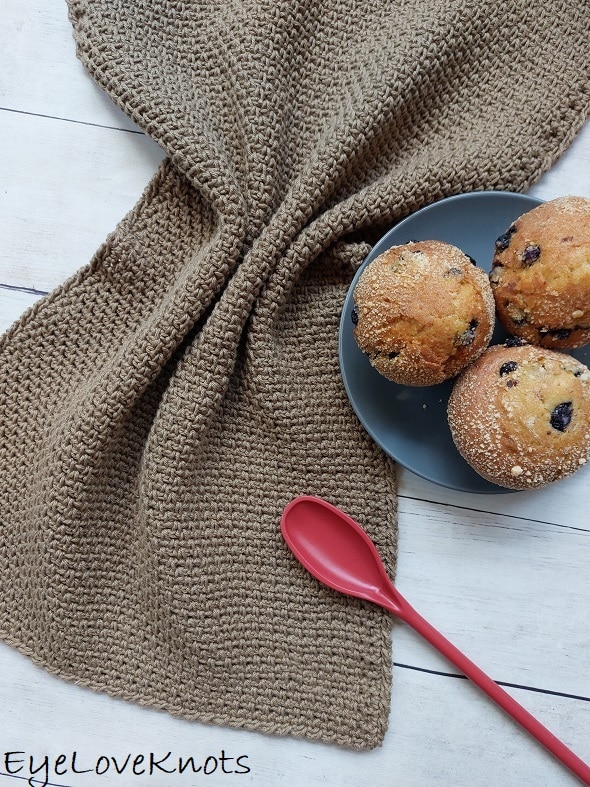
You’ll love these matching pieces for your home!


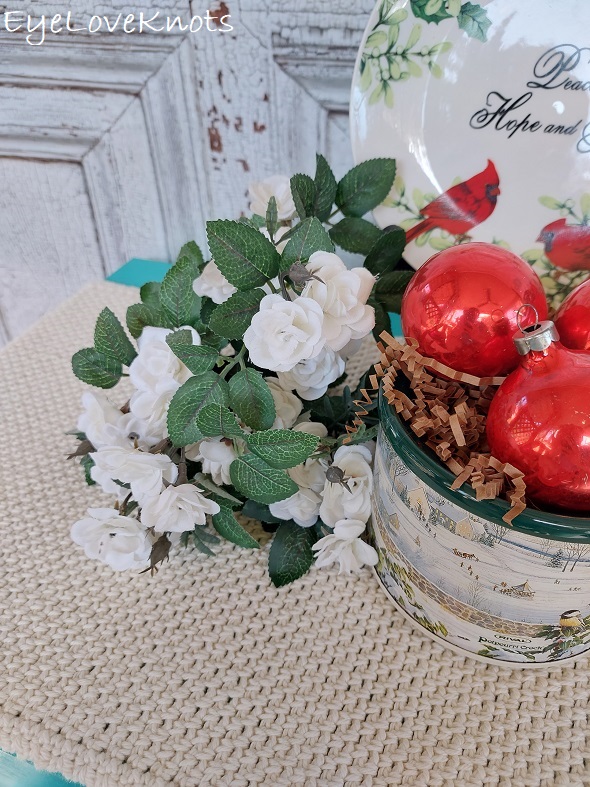
If you like making wreaths as much as I do, you’ll love these:
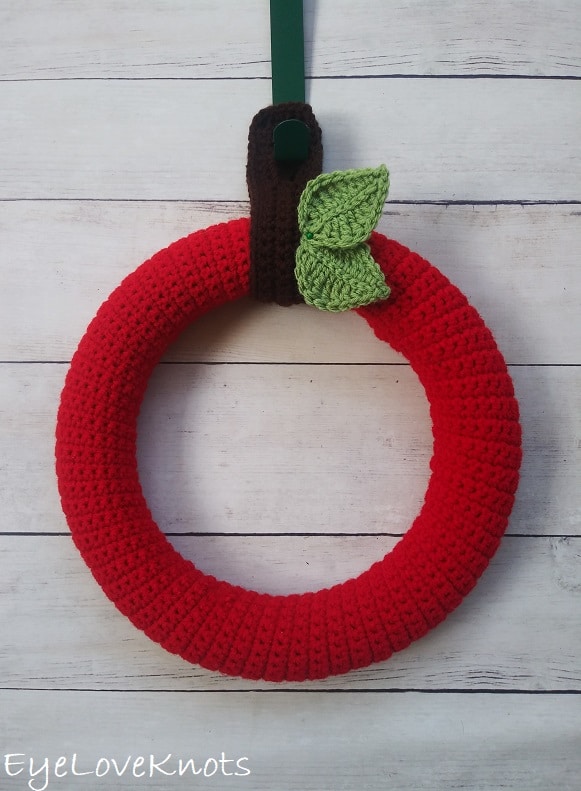
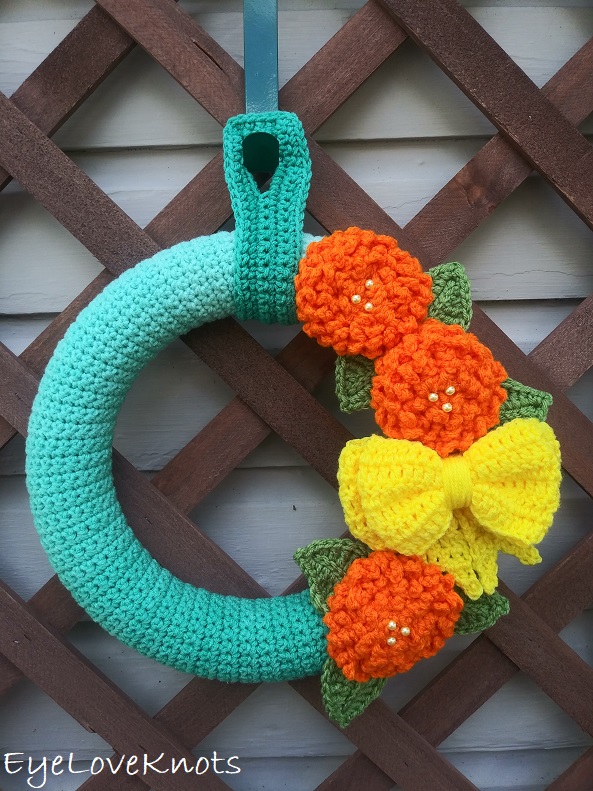
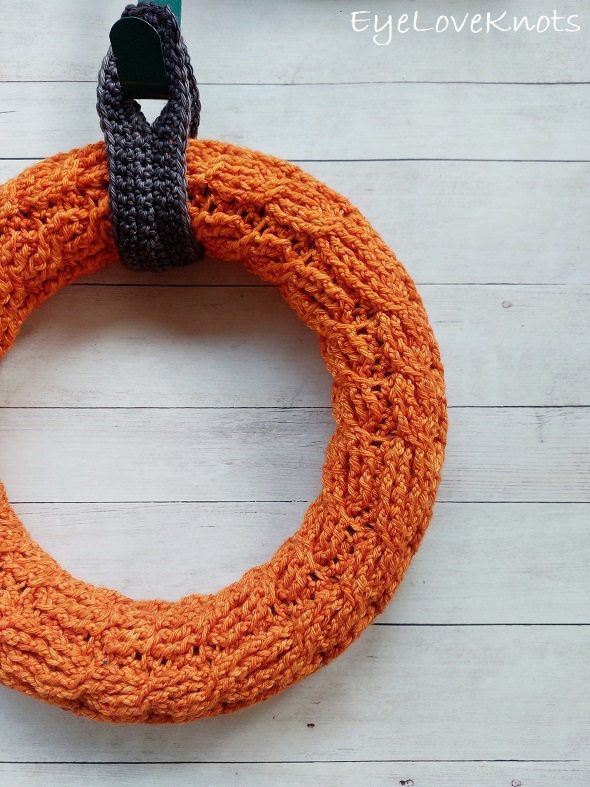
This wreath is featured in the Fall for Crafting Event 2026 hosted by Yarn Crafts & Coffee.
Ad-Free Printer Friendly PDF:

Yarn Crafts & Coffee newsletter subscribers get access to Exclusive Subscriber Content, like the free PDF of this pattern via the Free File Library. The library is password protected so sign up for my newsletter and you’ll receive a Welcome email containing this month’s password, or if you are already a blog subscriber, reference your latest newsletter for this month’s password. From the library, you’ll be able to access the PDFs via Google Drive – you do not need to have a Google Drive account to view and download the PDF.
Through 09/10/26 at 12:00pm EST, you can grab a free copy of the PDF for the Landon Wreath on Ravelry using code MOSSWREATH26. I earn my income from the number of pageviews my blog sees, so please do not share the code, but instead share the link to this post so others can find it. Thank you!
After 09/10/26 or for non-subscribers, if you would like a PDF version of this post, you may get one through either my Etsy Shop or Ravelry Shop for a small fee. This fee is to compensate for the views lost when you no longer need to return to the blog to for the information, as you will have your own copy. In a hurry? Pin this for later when you have more time.
Save this to Your Favorites on: Lion Brand Lovers Ravelry Group; OR any of these awesome directories: AllFreeCrochet, FaveCrafts, Cheap Thrifty Living, DIYideaCenter, Crochet Pattern Bonanza, AllFreeHolidayCrafts, Free Crochet Tutorials, The Free Crochet Family
What Materials Will I Need to Crochet a Wreath?
- Worsted Weight #4 Yarn – 222 Yards (90 grams) for the Wreath Form Cover and 18 Yards (7 grams) for the Hanger
- R1 Only: 4.5mm Crochet Hook (4mm or 4.25mm work too if you don’t have a 4.5mm)
- Rest of the Wreath: H8/5mm Crochet Hook
- Tapestry Needle
- Soft Tape Measure (gauge is essential)
- 12″ Foam Wreath – I used a white one
- Scissors
- Optional, Stitch Markers
Yarn Talk:
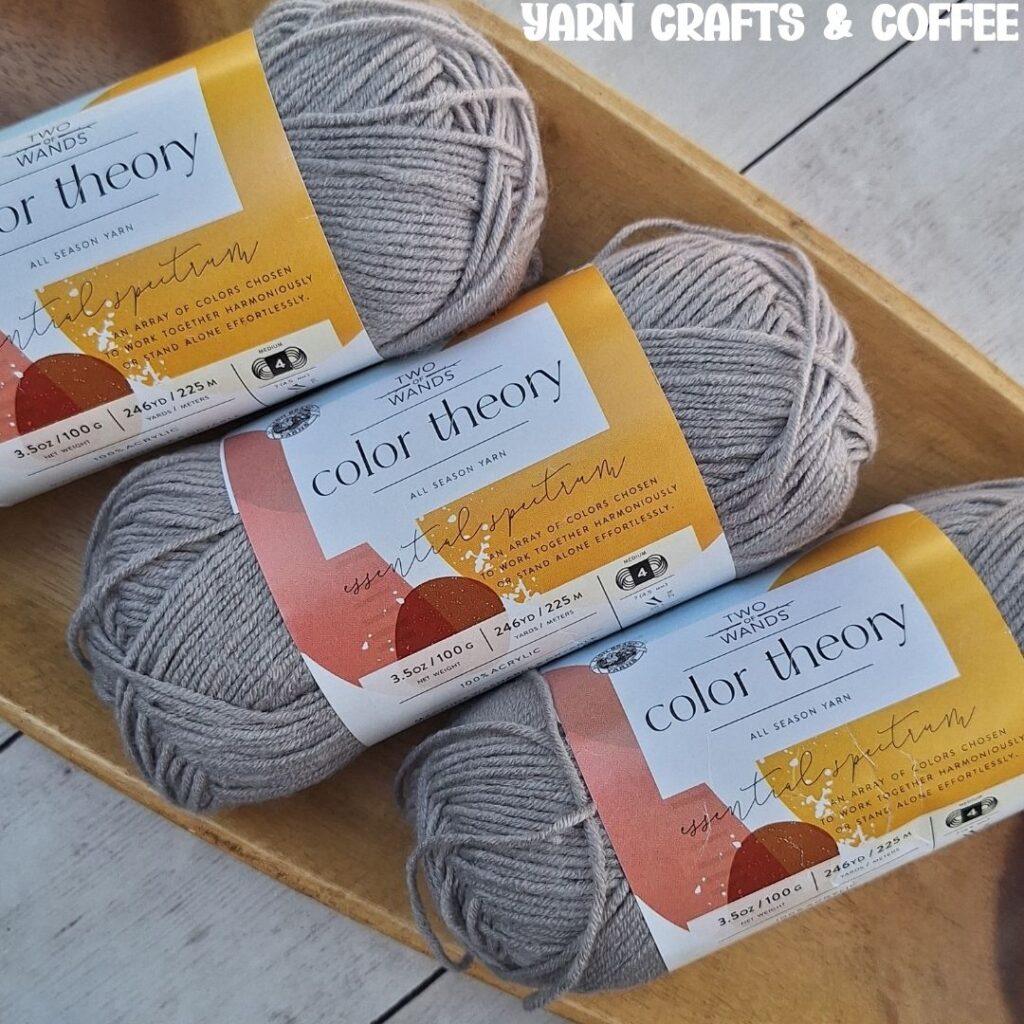
I used Lion Brand Color Theory in the Satellite colorway, a different yarn than what I usually gravitate to for wreaths, but equally pleased with.
My favorite yarns for crocheting a wreath are going to be 100% acrylic yarns. Usually, I like to go with Premier Yarns Basix Worsted, Lion Brand Pound of Love and Red Heart Super Saver as these yarns hold up really well to wear and tear, and while they will fade over time, I feel that these yarns hold their color the best over other yarns I’ve tried, as well as the shaping of embellishments. If the wreath will be inside only, you could go with cotton blends and embellishments, but for outdoor wreaths, cottons fade quickly and begin to fall apart.
Premier Yarns Basix Worsted is a soft, yet sturdy acrylic yarn that is perfect for practically any yarn project you could dream of! It’s also machine washable and dryable making projects easy to care for. As of May 11th, 2026, it is available in an amazing number of colors – 93 colors – as well as in DK Weight, Chunky Weight and Super Bulky Weight.
Lion Brand Pound of Love Yarn is a soft, acrylic worsted weight yarn that comes in a one pound ball. One pound means you won’t need many skeins to get projects done! Just one ball makes a baby blanket, or 2-3 scarves or shawls, or lots of beanies or what feels like an infinite amount of appliques and plastic canvas projects! You’ll also love that this yarn is machine washable and dryable, making projects so easy to care for! One ball contains 1,020 yards or 454 grams.
With the creation of this new pattern, I experimented with yarns and created 3 versions: a cream colored one worked in Lion Brand Color Theory in the Satellite colorway as shown in all of the photos, as well as a brown one worked in Berroco Vintage in the Oats colorway and a red one worked in Cascade Pacific Yarn in the Deep Claret colorway, both showed in the image below from Episode 2 of my Yarn Crafts & Coffee Podcast that I haven’t had time to finish seaming up yet.
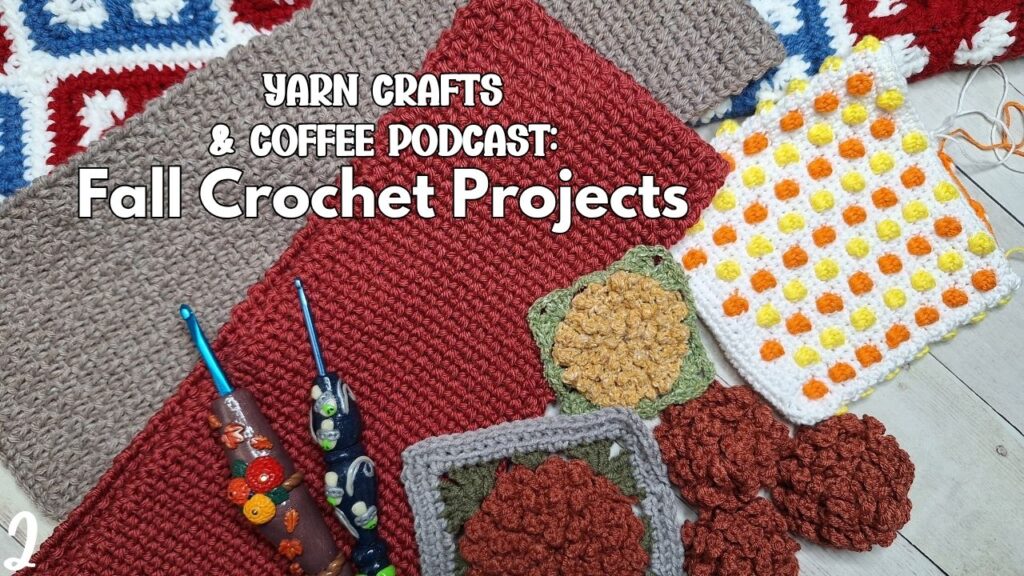
Cascade Pacific Yarn is a soft, worsted weight #4 yarn comprised of 60% acrylic and 40% superwash merino wool. This soft, plushy yarn has a pretty sheen to it and feels similar to Lion Brand Pound of Love, though the strands are spun slightly looser, so frogging crocheted projects makes this yarn splitty. It’s machine washable and dryable making projects easy to care for. As of July 24th, it is available in an amazing number of colors – 85 solid colors and 17 variegated colors in the Prints line. It also comes in a Sport Weight #2, Chunky Weight #5 and Bulky Weight #6.
Berroco Vintage Yarn is a lovely, soft and durable worsted weight #4 yarn comprised of 52% Acrylic, 40% Wool, and 8% Nylon that is perfect for warm and soft, wearables, accessories and home items! The acrylic, wool and nylon work together to produce a versatile, workhorse yarn for everyday items that are sure to become favorites! If you’ve worked in Lion Brand Wool Ease before, this yarn feels and produces a fabric similar to it, the strand is just a touch thinner. It’s machine washable and dryable making projects easy to care for. As of September 7th, 2026, it is available in an amazing number of colors – 105 – and it there is also a hand dyed, tonal version of the same weight called Berroco Vintage Handpainted. I love that Berroco Vintage also comes in a Fingering Weight #1, DK / Lightweight #3 and Chunky Weight #5.
Tools & Notions:
The moss stitch pattern results in a tighter fabric than say regular single crochet and this is why I have one size hook listed for Row 1 and a different hook size listed for the rest of the wreath form cover.
We have lots of great crochet hooks in our Yarn Crafts and Coffee Yarn Shop. The most popular, and preferred by Candace and Emily, are the Clover Amour Crochet Hooks with the soft handles and smooth metal hook. Alexandra prefers metal crochet hooks with large, ergonomic clay handles and just loves the fun designs from SiennasBowtique and BronzeShepherdStudio! If your preference is wood, the LYKKE brand are lovely, smooth and sturdy.
A tape measure is an essential tool in a multitude of crafts, including crocheting, knitting and needlepoint to name a few, especially if you are cutting material to finish a project or trying to meet gauge.
Tapestry Needles with the blunt, round end are essential for sewing and finishing in crocheting and knitting. The blunt, rounded end allows the needle to pass easily through the fabric created by yarn without snagging (or getting your fingers) in the process. Aside from the more common Straight Tapestry Needle, a Bent Tip Tapestry Needle makes weaving, grafting and sewing so much easier on the hands. The long oval eye makes threading strands of yarn easier, though you may still want to use a needle threader.
Scissors are an essential tool. When I’m working on the go, I like to carry a pair of folding scissors as they fit perfectly in even the tiniest of bags. When I am working at home or have more space in my bag for a larger notions pouch, I like to use a pair of lightweight, all-purpose scissors as they are so versatile and great for a variety of things from cutting plastic canvas mesh to cutting yarn strands and trimming yarn ends after weaving in to cutting out a care tag to include with a handmade gift.
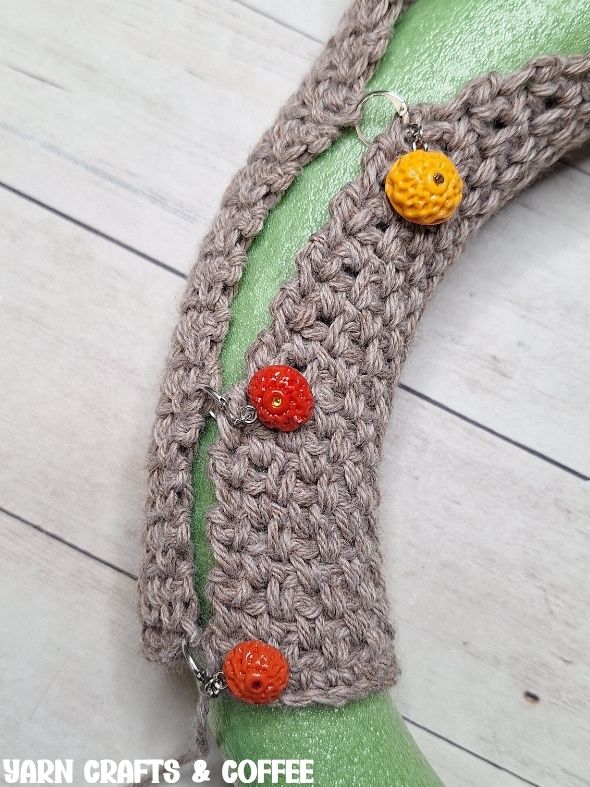
Stitch Markers are really helpful to use when it comes to marking the first stitch of the round so you can easily find it when it comes time to join, especially when working in a continuous round, as well as marking where to add increases in making top down garments or where change the stitch pattern within a pattern, which is more common in knitting, but they’re also really helpful when it comes to holding the layers of your fabric together, such as what you would use sewing pins for with fabric, so you can try garments and accessories on as you go or to keep all the rows and stitches lined up when you are ready to seam. You’ll find there are a variety of Stitch Markers available depending on what you’ll use them for, but plastic Locking Stitch Markers are among the most popular as they come in kits and are the cheaper option to grab off the shelf at the craft store, but my favorite are Lever Back Stitch Markers. Scrap yarn, paper clips and safety pins work too!
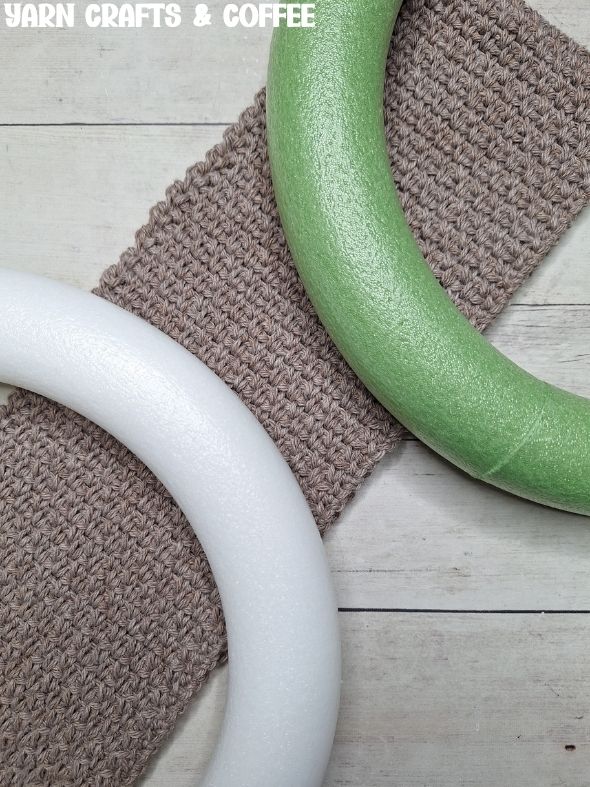
I typically work my fabric much shorter than needed so I can stretch it to fit perfectly, but with the chain spaces of the moss stitch, I worked additional length so the fabric wouldn’t need to stretch at all so the wreath form would not be visible through the gaps. I did pick a white foam wreath form to blend best with my cream color, and would still try to match the form to the color.
Foam wreath form bases come in green and white. It does not particularly matter which color you use for a crocheted wreath that is made of a solid fabric. Even as it stretches, the fabric is typically still solid enough that you don’t see your stitches through, but this is not always true so you will definitely want to test it before whipstitching closed. Personally, I always try to match light colored yarns with a white base, and darker colored yarns with a green base just so I don’t have to worry about it.
If you don’t have a foam wreath base, you could use a straw wreath or a pool noodle with the two ends attached together with a strong tape. These tend to be thicker so you may need to add stitches to the beginning chain to get a wider fabric. While I have not tested wire wreath forms, I think they would work about the same, but may be thinner around and require less stitches.
How Long Does it Take to Crochet a Wreath?
I had my wreath form cover ready in just under 3 hours.
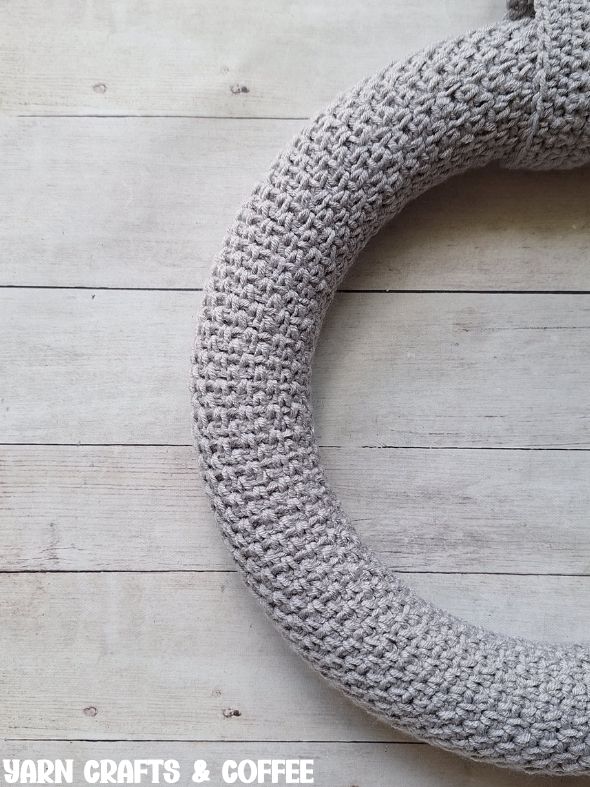
Measurements:
This cover will fit a 12″ foam wreath form.
Before seaming, your fabric should measure anywhere from 5 1/2″ wide to 6″ wide by about 34 3/8″ in length.
Gauge (Essential):
The most important thing is to measure the width of your fabric after at least 12 rows – this will be the finished width, and you’ll want that to be 5 1/2″ to 6″ wide. Anything less or more, I recommend going up or down a hook size or adding or taking away stitches in any multiple.
Height gauge is not essential as you can easily add or subtract rows as you go.
Abbreviation (US Term):
- SC – Single Crochet (Photo Tutorial)
Pattern Note:
Row 1 is worked in regular single crochet stitches so that it gives you a solid fabric to whipstitch to in the end. If you start with the moss stitch in Row 1 instead, the stitches will pull because the fabric doesn’t have as much support with the chain 1 spaces.
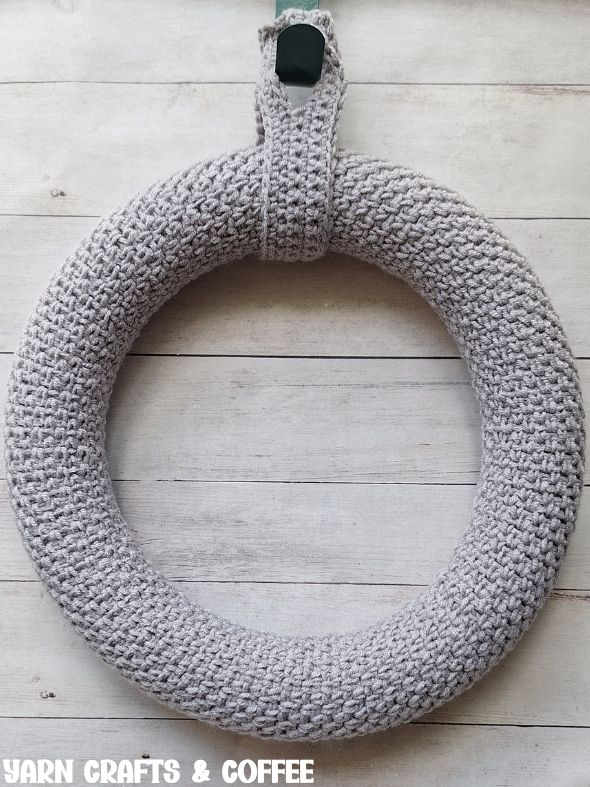
Landon Wreath Crochet Pattern | Moss Stitch Crochet Wreath Pattern:
With a 4.5mm crochet hook, chain 28. SC into the 2nd chain from the hook, and each chain across. (27 SC)
Switch to a H8/5mm crochet hook for the remainder of the wreath.
R2: Chain 1, turn. SC into the 1st SC, (chain 1, skip the next SC, SC into the next SC) across. (27 stitches)
R3: Chain 1, turn. SC into each of the 1st SC and the next chain space, (chain 1, skip the next SC, SC into the next chain space) across, SC into the last SC. (27 stitches)
R4: Chain 1, turn. SC into the 1st SC, (chain 1, skip the next SC, SC into the next space) across. (27 stitches)
R5 – 156: Repeat Rows 3 and 4.
Fasten off with a long tail (approximately 60″) for sewing. Pull up on the last stitch to break.
Weave in the initial tail end first.
Thread the tapestry needle with the long tail end, wrap the wreath form cover around the wreath form with the right side facing out, and whipstitch closed lining up the stitches – this is where those stitch markers come in handy as it’s easy to start sewing crooked as you get into the groove. You should not need to stretch the fabric to fit the circumference of the foam wreath base – you don’t really want to because it will stretch open the chain spaces, and then the wreath foam base will be seem through those spaces. If you find a big gap after finishing all of your rows, work additional repeats to fill in the gap – on the flip side, if you notice you have too much fabric and it’s bunched up, manipulate the wreath form to try to evenly distribute the fabric, or remove however many rows needed to allow the fabric to lay nicely. The wreath form is a little over 36″, that is why I made my fabric about 34 3/8″ long and it fit perfectly.
Once you’re finished sewing the sides together, then sew the beginning foundation chain stitches to the stitches from the final row. Weave in your tail end, and your wreath is complete!
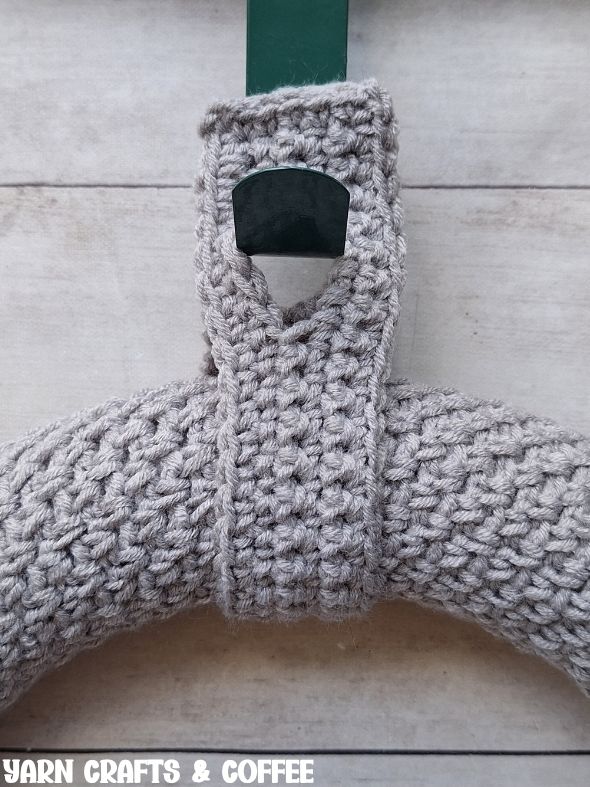
Optional Wreath Hanger:
I did try to work a wreath hanger in the moss stitch as well so that the textures matched a little better, but in a similar way to how I started the wreath form base, the moss stitch as wreath hanger doesn’t have enough structure due to the chain spaces, and it results in a lacy edging so I reverted back to my tried and true single crochet wreath form hanger. I’m very happy with it and don’t think it looks out of place.
Chain 43. SC into the 2nd chain, and each chain across. (42 SC)
R2: Chain 1, turn. SC into the 1st 4 SCs, chain 4, skip the next 4 SC, SC into the next 26 SC, chain 4, skip the next 4 SC, SC into the last 4 SC. (34 SC)
R3: Chain 1, turn. SC into the 1st 4 SCs, work 4 SC into the chain space, SC into the next 26 SC, work 4 SC into the next chain space, SC into the last 4 SC. (42 SC)
R4: Chain 1, turn. SC into the 1st SC, and each across. (42 SC)
Border: Chain 1, but don’t turn. SC into the side of Row 3 (this is the same stitch as the last), and into the side of Row 2, and then Row 1, work 3 SC into the next stitch – corner, working into the opposite side of the foundation chain, SC into the next 40 stitches, work 3 SC into the next stitch – corner, SC 3 into the next side, work 3 SC into the next stitch – corner, SC across into the next 40 stitches, work 3 SC into the next stitch – corner. Join to the first SC. (92 SC)
Hang and enjoy!
When it comes to wreaths, I know your first thought is to hang it on the front door, and I absolutely agree! Hang the first wreath on the front door, and then make another one because they can be hung on a gallery wall, over an entryway table, mantel or fireplace, from windows, cabinets and the back of dining chairs and so much more! You can place a wreath anywhere you want for a little more cheer.
I feel like there is no right or wrong answer when it comes to placing your wreath because it’s whatever you like best, but the standard and a safe bet is going to be to hang your wreath at eye level.
Please feel free to make and sell your own items made using this pattern, but keep in mind, this written pattern and my photos are protected by copyright. Please DO NOT claim this pattern as your own nor should you sell my pattern. DO NOT re-publish my photos as your own. DO NOT copy and paste my pattern anywhere, link to it instead so other’s can visit. Making videos providing instructions how to make my projects on any social media platform is also not permitted.
Would love to have you join our Yarn Crafts & Coffee Community group on Facebook to share your creations, and see what others are up to
