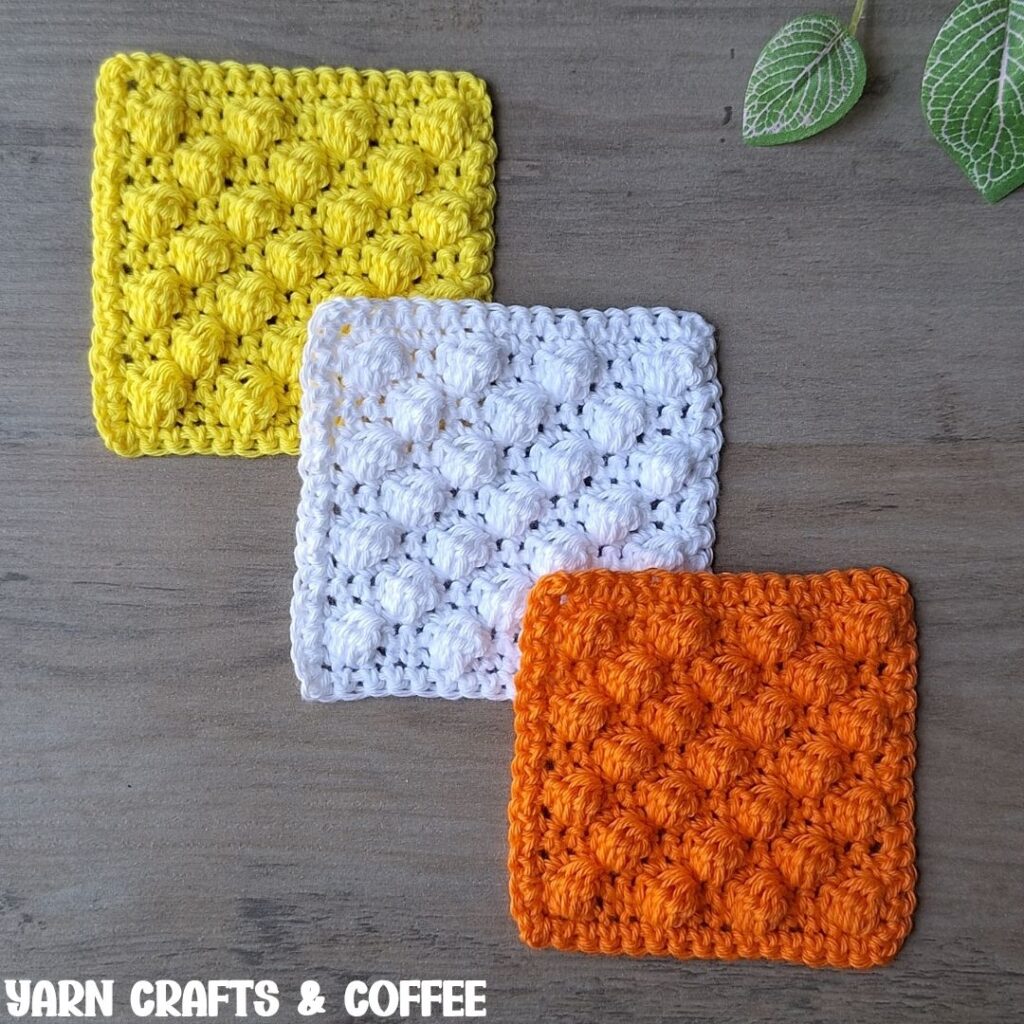
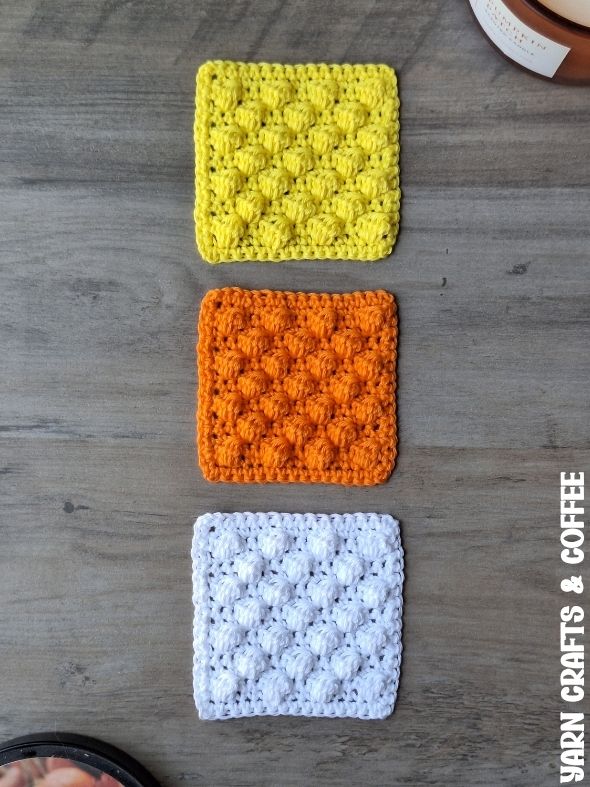
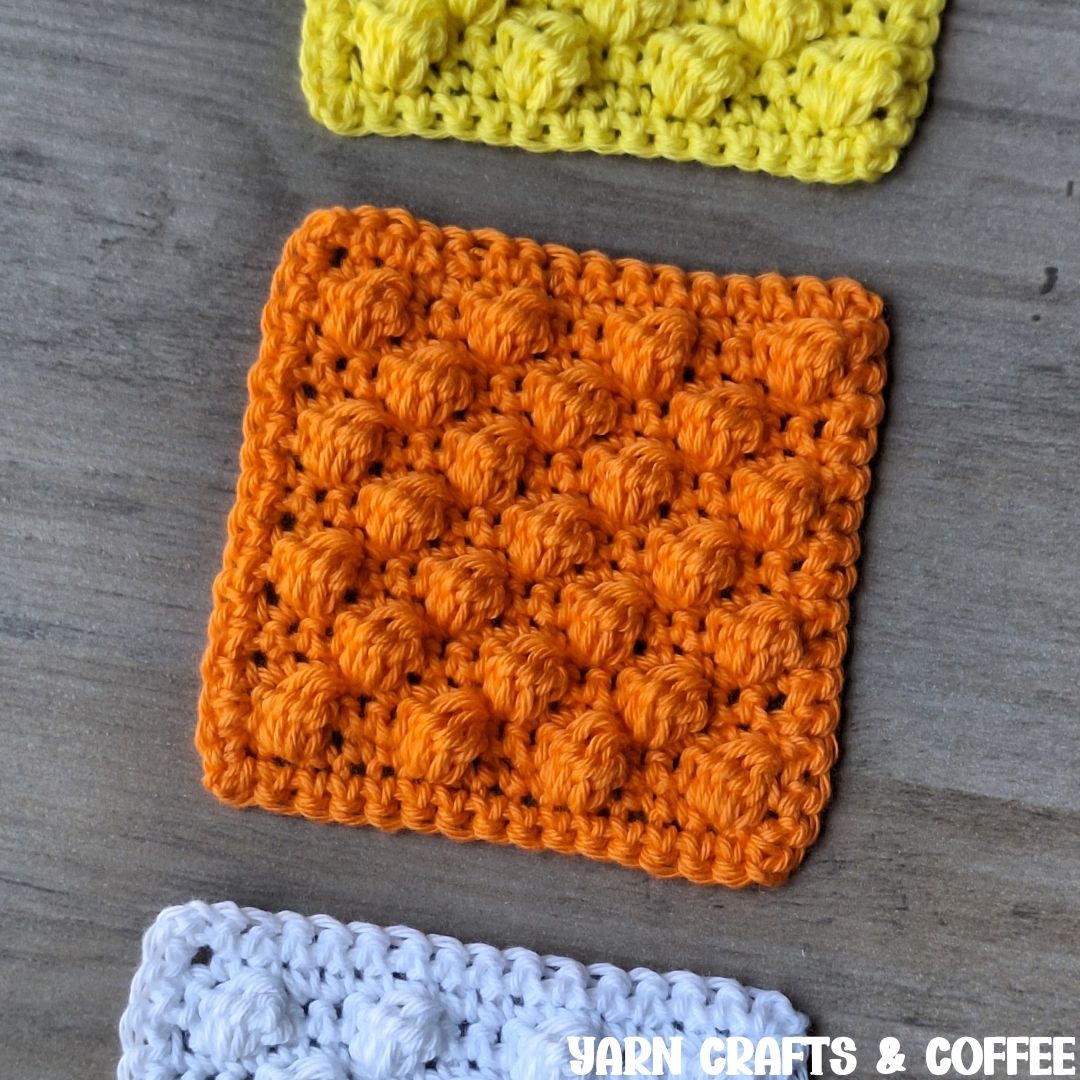
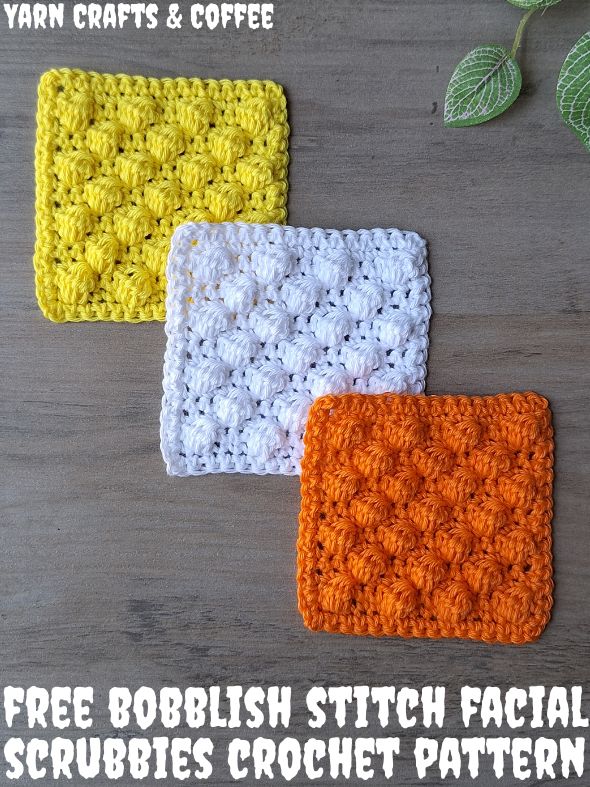
Learn how to crochet textured scrubbies that are excellent as dish scrubbies, face scrubbies and body scrubbies, using the bobble stitch and your favorite sport weight yarn with this free crochet pattern.
This post contains affiliate links. If you make a purchase by clicking on them, I make a small commission at no extra cost to you. I only recommend products I love and hope you’ll love them too! Click here to find out about the different affiliate programs I am apart of. This post also contains shop links to my yarn shop and craft store, Yarn Crafts & Coffee. You can shop online or in person in Melbourne, Florida.
Find the free crochet pattern instructions below, or purchase a printer-friendly, ad-free PDF on Ravelry by clicking here.
In a hurry? Pin this for later when you have more time.
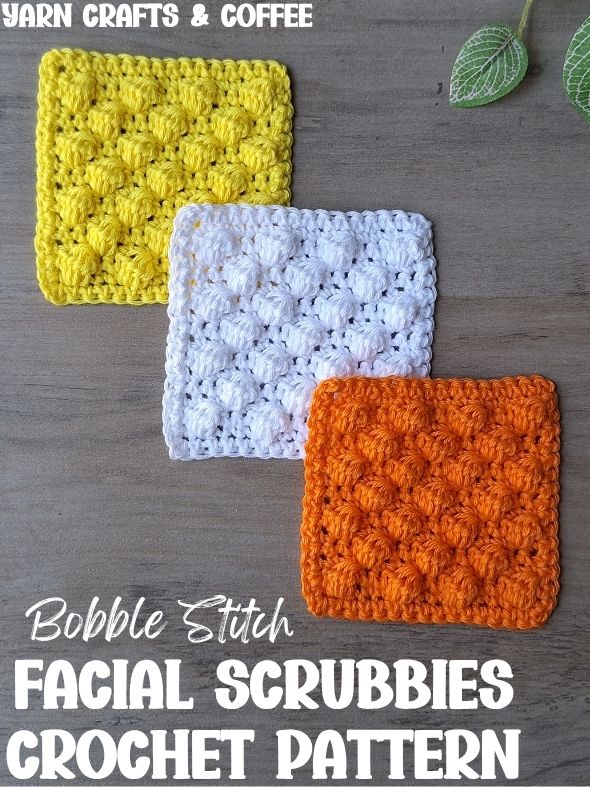
Crocheted scrubbies feel fantastic against the skin and are a great way to both exfoliate as well as remove your make up. If you prefer something for the kitchen instead, these textured bobble stitch scrubbies are also great for washing dishes with.
The bonus with crocheted face scrubbies is that they can easily be thrown into the wash and reused again which will surely save you money from continuously buying one use face pads and are more eco-friendly.
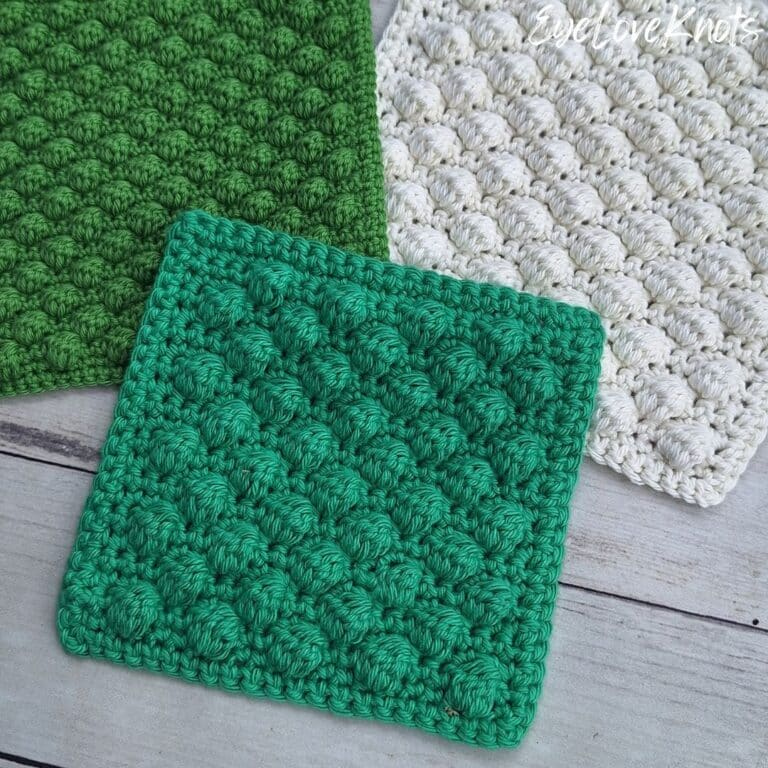
You can make a fun, personalized gift set with bobble stitch scrubbies when you combine them with some crocheted bobble stitch washcloths that would be great to celebrate a housewarming, birthday, bridal shower, Mother’s Day or anything in between and being so small, you can easily bundle a few scrubbies together and pop them into a stocking for Christmas. So many fun ways to gift these, and don’t forget to gift some to yourself as well!
These crocheted scrubbies are featured in the Spooktacular Halloween Crafting Event 2026 hosted on my Yarn Crafts & Coffee blog.
Ad-Free Printer Friendly PDF:

Yarn Crafts & Coffee newsletter subscribers get access to Exclusive Subscriber Content, like the free PDF of this pattern via the Free File Library. The library is password protected so sign up for my newsletter and you’ll receive a Welcome email containing this month’s password, or if you are already a blog subscriber, reference your latest newsletter for this month’s password. From the library, you’ll be able to access the PDFs via Google Drive – you do not need to have a Google Drive account to view and download the PDF.
Through 07/16/26 at 11:59pm EST, you can grab a free copy of the PDF for the Sport Weight Bobblish Scrubbies on Ravelry using code SCRUB26. I earn my income from the number of pageviews my blog sees, so please do not share the code, but instead share the link to this post so others can find it. Thank you!
After 07/16/26 or for non-subscribers, if you would like a PDF version of this post, you may get one through either my Etsy Shop or Ravelry Shop for a small fee. This fee is to compensate for the views lost when you no longer need to return to the blog to for the information, as you will have your own copy. In a hurry? Pin this for later when you have more time.
Materials:
- 25 Yards or 7 grams of Sport Weight #2 Cotton Yarn
- F5/3.75mm Crochet Hook
- Tapestry Needle
- Scissors
Yarn Talk:
I used Queensland Coastal Cotton Fine for my scrubbies in the Porcelain, Lemon and Persimmon colorways. We carry this yarn in my yarn shop, both online and in person.
Queensland Coastal Cotton Fine is a versatile, soft sport weight #2 yarn made of 100% cotton. It’s machine washable and dryable making projects easy to care for and it’s colorfast. As of July 10th, it is available in an amazing number of colors – 54 solid colors and 23 variegated colors – as well as in a Worsted Weight #4.
WeCrochet / Knit Picks CotLin and Lion Brand 24/7 Cotton DK would be great alternatives for these scrubbies, though may work up a little bit larger as they are lightweight #3 yarns. I might go so far as to say Juniper Moon Zooey could be an alternative as well, though I have not tested it.
Regardless of whether you use these as facial scrubbies, a body scrubby or a dish scrubbie, you’ll want to use a yarn that is durable, absorbent and colorfast, meaning the color is set so you don’t have to worry about it fading or bleeding. 100% non-mercerized cotton is my number one recommendation, but there are a few other great options as well.
Linen also makes for lovely facial scrubbies. It gets strong when wet, and gets softer and nicer with each wash. Linen blends often combine with cotton or bamboo to add softness. This is why I’ve said that Juniper Moon Zooey may also work since it’s 60% Linen and 40% Cotton. Seems like a great fiber content for a scrubbie, though needs to be tested.
Due to the shedding of microplastics, cottons blended with a synthetic fiber are not a popular choice for crocheted scrubbies. While combining a synthetic fiber, such as acrylic or polyester adds more durability, these fibers do lack the absorbency and will repel water, which can lead to skin irritation. If you choose to use a cotton blended with a synthetic fiber, lean towards one with a high cotton percentage to balance it out.
Bamboo yarns have a high absorbency – even more than cotton – however, bamboo is weaker when wet, and more prone to developing mold so if bamboo is a fiber you want to use, I definitely recommend going with a blend of linen and/or cotton.
Mercerized cotton yarns under go a chemical process to give them a smooth and shiny appearance and make them a stronger, rougher fiber. Though soda ash, which is used in that chemical process, is washed out of the yarn, I do not like the idea of using mercerized yarns in projects that I will use to clean with or put food on top of. The process of mercerizing yarn also takes away the absorbency that non-mercerized cotton has. While it will still absorb water, it does it at a much slower rate and less than a non-mercerized cotton would. While mercerized cotton yarns are great for many crochet projects, they are not yarns I reach for when making scrubbies.
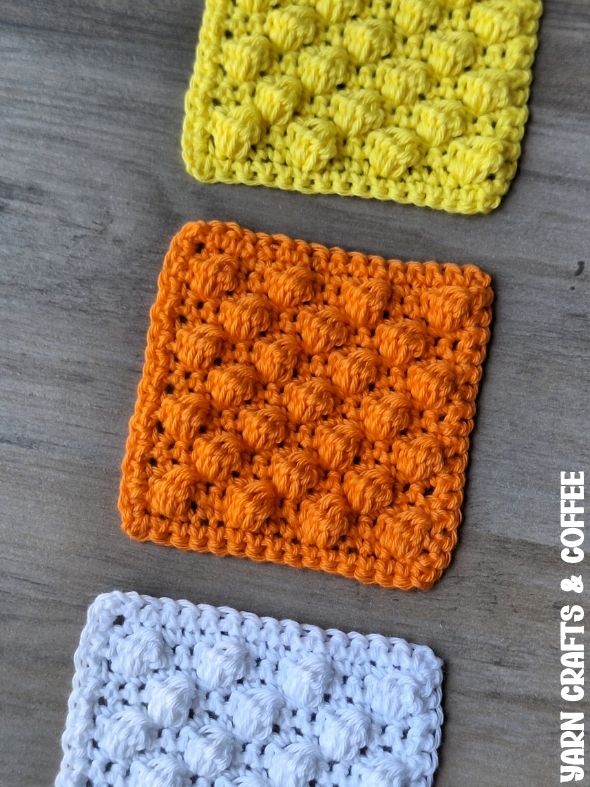
How Often Should You Change Out Your Scrubbies?
When I use facial scrubbies, I only use one corner at a time so I am able to use my facial scrubbie for 4 days. Really, I prefer smaller scrubbies, but they are harder to hold. If you use more of the surface for your face, body or if using as a dish scrubbie, change out the scrubbie with each use as it harbors bacteria, and possible mold growth is it doesn’t dry out properly, and can hold onto debris.
How do you wash and dry crocheted scrubbies?
Hand washing and laying flat to dry is always best to preserve your crocheted items, but hand washing a big ask as most of us just don’t have the time and/or desire. To preserve the stitching and size a bit better, you can machine wash (on gentle and in cold water) in the mesh lingerie bag and then squeeze out the excess water (do not wring out a crocheted scrubbie) and lay flat to dry. Some like to make a hanging loop for their scrubbies and hang them to dry or when not in use, which is perfectly fine, but just make sure to remove as much excess water as possible so they aren’t very heavy when hung as hanging can make the fabric stretch.
I prefer using yarns that I can easily throw into the washing machine with other things. With the yarns I mentioned above, I have tested all of them and know I can pop the scrubbies into the washing machine (on gentle and in cold water) and then into the dryer (on low heat) when it’s time to clean them. While I just mentioned laying flat to dry is best, as a busy mom, I am not wanting to fish through the clothes when I transition them from the washer to the dryer so I do just machine dry my scrubbies on low heat instead the same mesh lingerie bags they are washed in. Keep in mind that machine drying 100% cotton will fluff up the yarn a little bit and the first time they are machine dried, it will shrink them a small amount as well.
Tools & Notions:
We have lots of great crochet hooks in our Yarn Crafts and Coffee Yarn Shop. The most popular, and preferred by Candace and Emily, are the Clover Amour Crochet Hooks with the soft handles and smooth metal hook. Alexandra prefers metal crochet hooks with large, ergonomic clay handles and just loves the fun designs from SiennasBowtique and BronzeShepherdStudio! If your preference is wood, the LYKKE brand are lovely, smooth and sturdy.
Tapestry Needles with the blunt, round end are essential for sewing and finishing in crocheting and knitting. The blunt, rounded end allows the needle to pass easily through the fabric created by yarn without snagging (or getting your fingers) in the process. Aside from the more common Straight Tapestry Needle, a Bent Tip Tapestry Needle makes weaving, grafting and sewing so much easier on the hands. The long oval eye makes threading strands of yarn easier, though you may still want to use a needle threader.
Scissors are an essential tool. When I’m working on the go, I like to carry a pair of folding scissors as they fit perfectly in even the tiniest of bags. When I am working at home or have more space in my bag for a larger notions pouch, I like to use a pair of lightweight, all-purpose scissors as they are so versatile and great for a variety of things from cutting plastic canvas mesh to cutting yarn strands and trimming yarn ends after weaving in to cutting out a care tag to include with a handmade gift.
Time:
About 20 minutes for one scrubbie
Measurements:
Facial scrubbies come in all sizes. If you check make up removing pads the next time you’re at the store, you’ll notice they come as small as 1″ and all the way up to about 4″. The most popular sizes are going to fall between 3″ and 4″, with 3 1/2″ being the standard. Feel free to customize the size of these scrubbies by working more or less stitches and/or rows to get the perfect size for you!
Before border: just over 2 7/8″ wide by 3″ tall
With border: 3 3/8″ wide by 3 3/8″ tall
Abbreviation (US Term):
– SC – Single Crochet (Photo Tutorial)
Special Stitch:
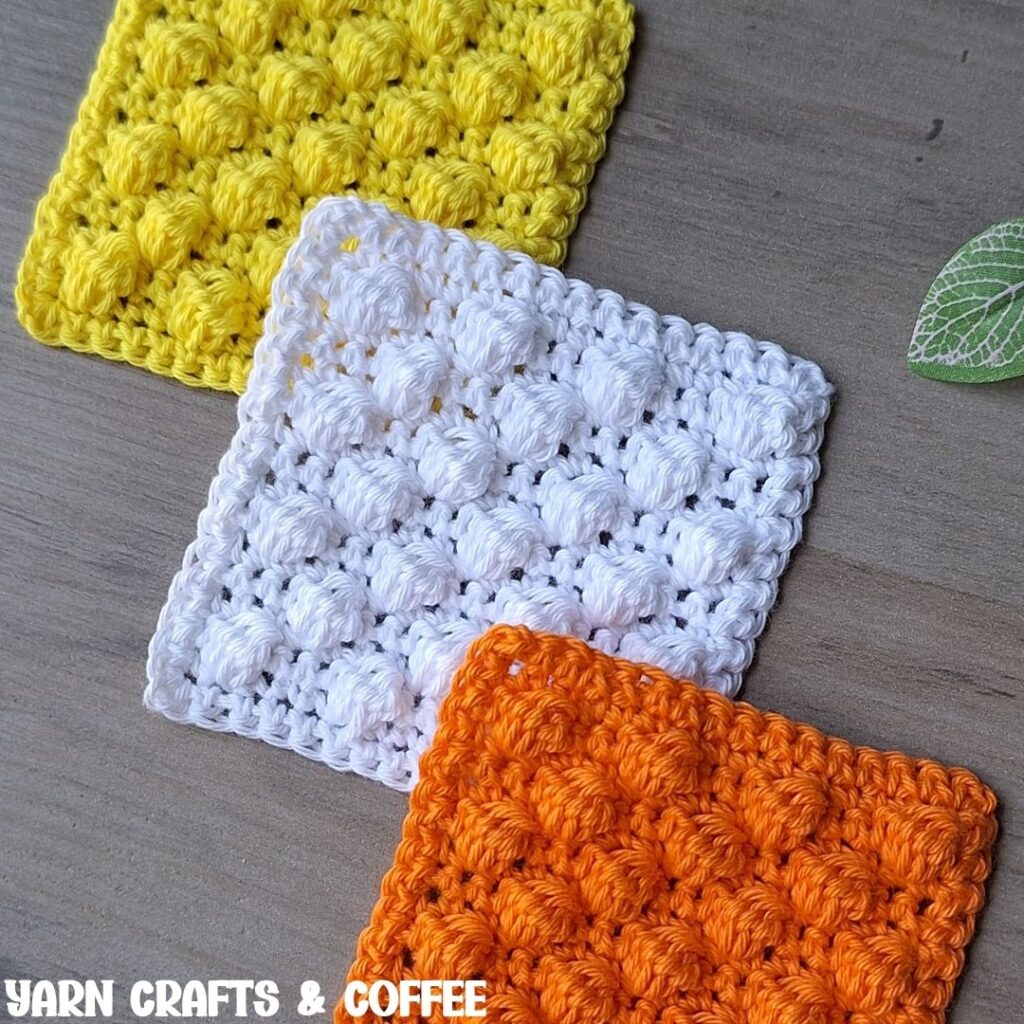
Bobble stitches are worked from the wrong side, or back side, of the project, but will pop out on the right side, or front side. The single crochet that follows the bobble stitch is what brings it level with the rest of the single crochet stitches and will make the bobble pop.
To Create a Bobble: all worked into the same stitch: (yarn over, insert hook into indicated stitch, yarn over, pull through, yarn over, pull through 2 loops) 4x, yarn over, pull through all 5 loops on the hook
Pattern Notes:
If you wanted to alter the width of the scrubbie, work a chain that is a multiple of 4– that means a number that is evenly divisible by 4 like 8, 12, 16, etc. The multiple of 4 includes one repeat of 3 single crochets and a bobble stitch plus one bobble stitch at the beginning, two single crochets on either end for the first bobble stitch row and a turning chain.
I’ve done this stitch multiple to equal 3 single crochet stitches in between bobble stitches, but if you would like to adjust this, keep the number of single crochets as an odd number so the bobble is evenly staggered in the center. The last 3 equals 2 single crochets on both ends and 1 bobble so if you adjust the center count, you may want to also add extra stitches on the ends to match.
If you want to alter the length, simply add or subtract rows by twos, ending after a single crochet row.
If altering the length, keep in mind that the border adds 3/8″ to the width and height.
The beginning chain 1 does not count as a stitch.
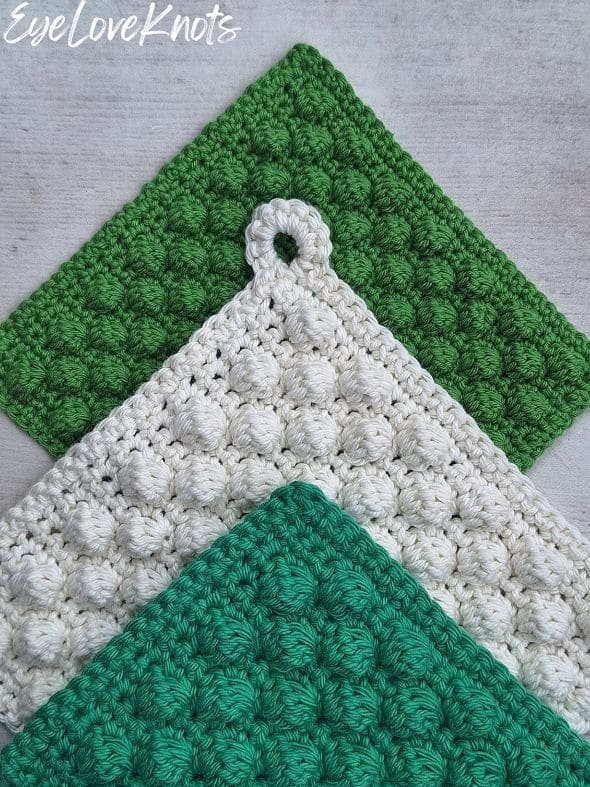
If you would like to be able to hang your scrubbies up to dry or store, I’ll include the instructions for a hanging loop, which is added at the beginning of the border.
Bobble Stitch Scrubbie Crochet Pattern:
Chain 16. SC into the 2nd chain from the hook, and into each chain across. (15 SC)
R2: Chain 1, and turn. SC into the 1st stitch, Bobble into the next stitch, (SC into each of the next 3 stitches, Bobble into the next stitch) across, SC into the last stitch. (15 stitches)
R3: Chain 1, and turn. SC into the 1st stitch, and into each stitch across. (15 SC)
R4: Chain 1, and turn. SC into the 1st 3 stitches, Bobble into the next stitch, (SC into each of the next 3 stitches, Bobble into the next stitch) across, SC into each of the last 3 stitches. (15 stitches)
R5: Chain 1, and turn. SC into the 1st stitch, and into each stitch across. (15 SC)
R6 – 13: Repeat Rows 2 – 5.
R14 – 15: Repeat Rows 2 – 3.
Border Notes:
I am working a simple single crochet round, but you can change that stitch up to any that you like, or add additional rounds to the border.
I am working my corners as (SC, chain 1, SC), which will give me a more rounded corner. Another way you can do this is 3 SCs into the same stitch. If you like a more square corner, you can work a (SC, chain 2, SC) or (SC, HDC, SC) into the same stitch.
If you experience ruffling when working the border, this is caused from a change, especially seen on the sides. My quick fix is to simply go down a hook size to a E4/3.5mm. You can also continue with the same hook you’ve been working with, and just block the finished scrubbie. I usually experience this on larger projects only, so I kept the same hook throughout.
Border Pattern:
Border Without Hanging Loop: Chain 1, turn. SC into the 1st stitch and into each of the next 13 stitches across, (SC, chain 1, SC) into the last stitch to form a corner, evenly SC 14 (that’s 1 stitch per SC row) down the side of the cloth to the last stitch, (SC, chain 1, SC) into the last stitch to form a corner, SC 13 across the opposite side of the foundation chain over, (SC, chain 1, SC) into the last stitch to form a corner, evenly SC 14 up the side of the cloth to the first stitch, SC into the same stitch as the first then slip stitch join to the 1st SC (which takes the place of the last chain). Fasten off, and weave in the ends.
Border With Hanging Loop: Chain 6, then slip stitch join to the last SC of the cloth to form a ring. Chain 1, turn. Work 10 SC into the ring. Skip the first stitch that slip stitch was made in. SC into the 2nd stitch, and each remaining stitch across over to the last stitch, (SC, chain 1, SC) into the last stitch to form a corner, evenly 14 SC (that’s 1 stitch per SC row) down the side of the cloth to the last stitch, (SC, chain 1, SC) into the last stitch to form a corner, SC 13 across the opposite side of the foundation chain over to the last stitch, (SC, chain 1, SC) into the last stitch to form a corner, evenly SC 14 (that’s 1 stitch per SC row) up the side of the cloth skipping the very last stitch on the side, then slip stitch join to the 1st SC worked into the hanging loop (which takes the place of the last stitch). Fasten off, and weave in the ends.
Please feel free to make and sell your own items made using this pattern, but keep in mind, this written pattern and my photos are protected by copyright. Please DO NOT claim this pattern as your own nor should you sell my pattern. DO NOT re-publish my photos as your own. DO NOT copy and paste my pattern anywhere, link to it instead so other’s can visit. Making videos providing instructions how to make my projects on any social media platform is also not permitted.
Join one of our awesome Facebook groups to share your creations, and see what others are up to!
– Yarn Crafts & Coffee Community
– DIY Home On Rockwood Lane
Linked Up To…
